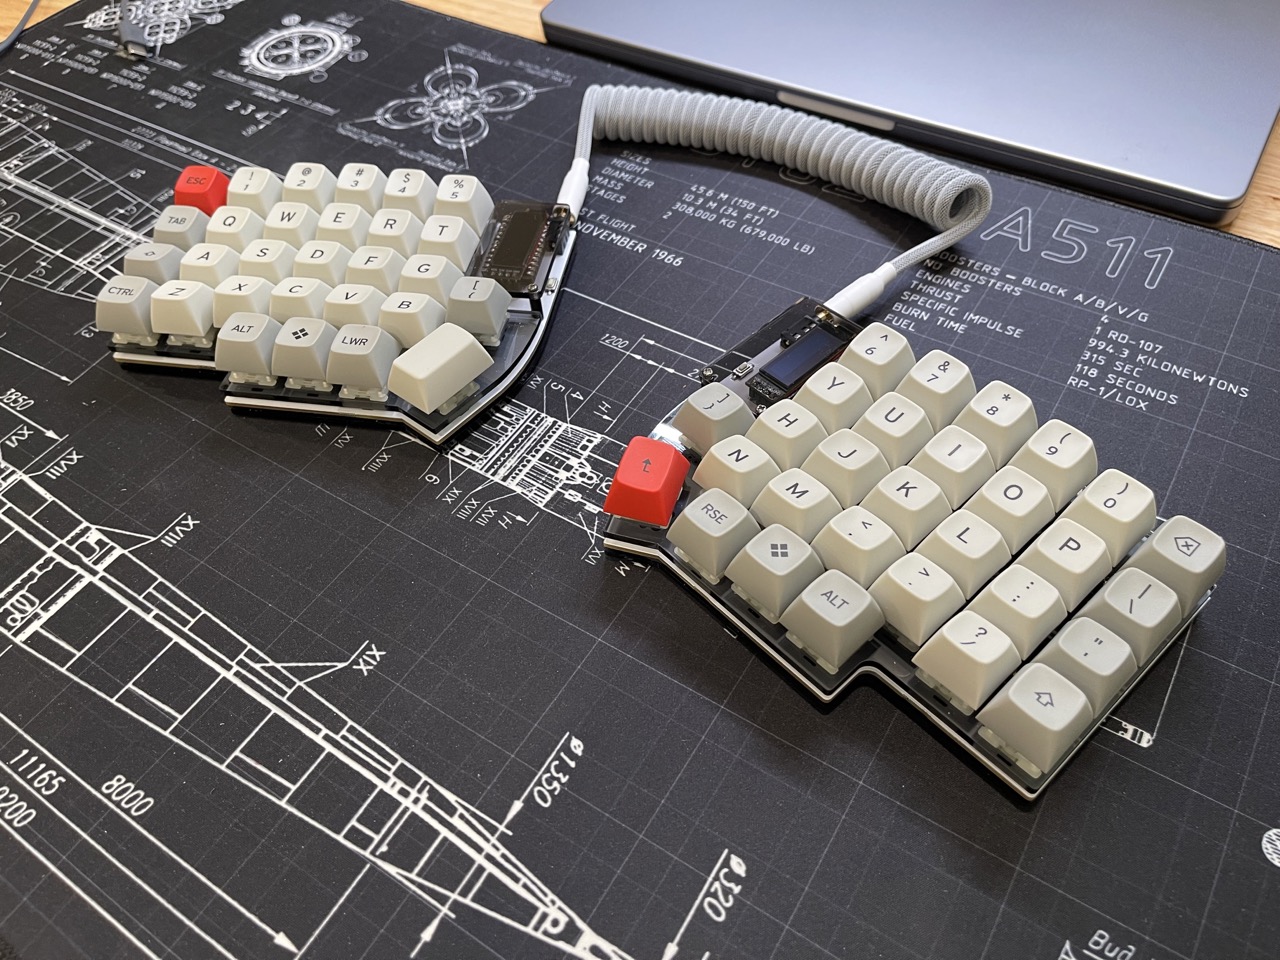
⌨️ Lily58 Pro. Building My First Split Mechanical Keyboard
Introduction
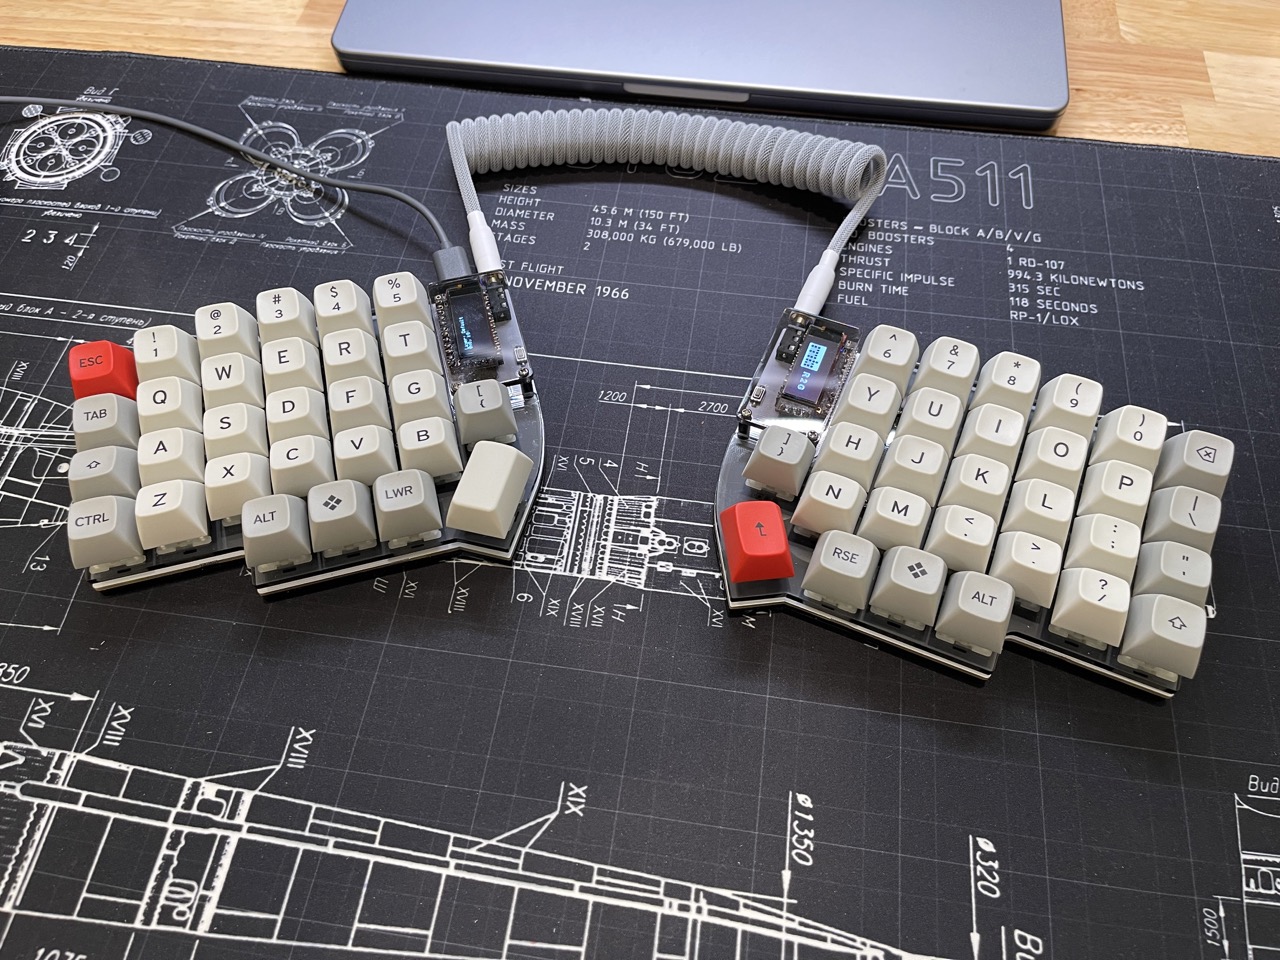
Mechanical keyboards have exploded in popularity among programmers and tech enthusiasts, not just for their tactile feedback but for the endless customization possibilities. The Lily58 Pro is a split ergonomic keyboard that promises a comfortable typing experience and a playground for hardware tinkerers. If you’re curious about split layouts, hotswap mods, or just want to build something truly yours, this guide walks you through my journey assembling a Lily58 Pro—and what I learned along the way.
Step 1: Gather the Necessary Components
Before diving in, make sure you have all the essentials:
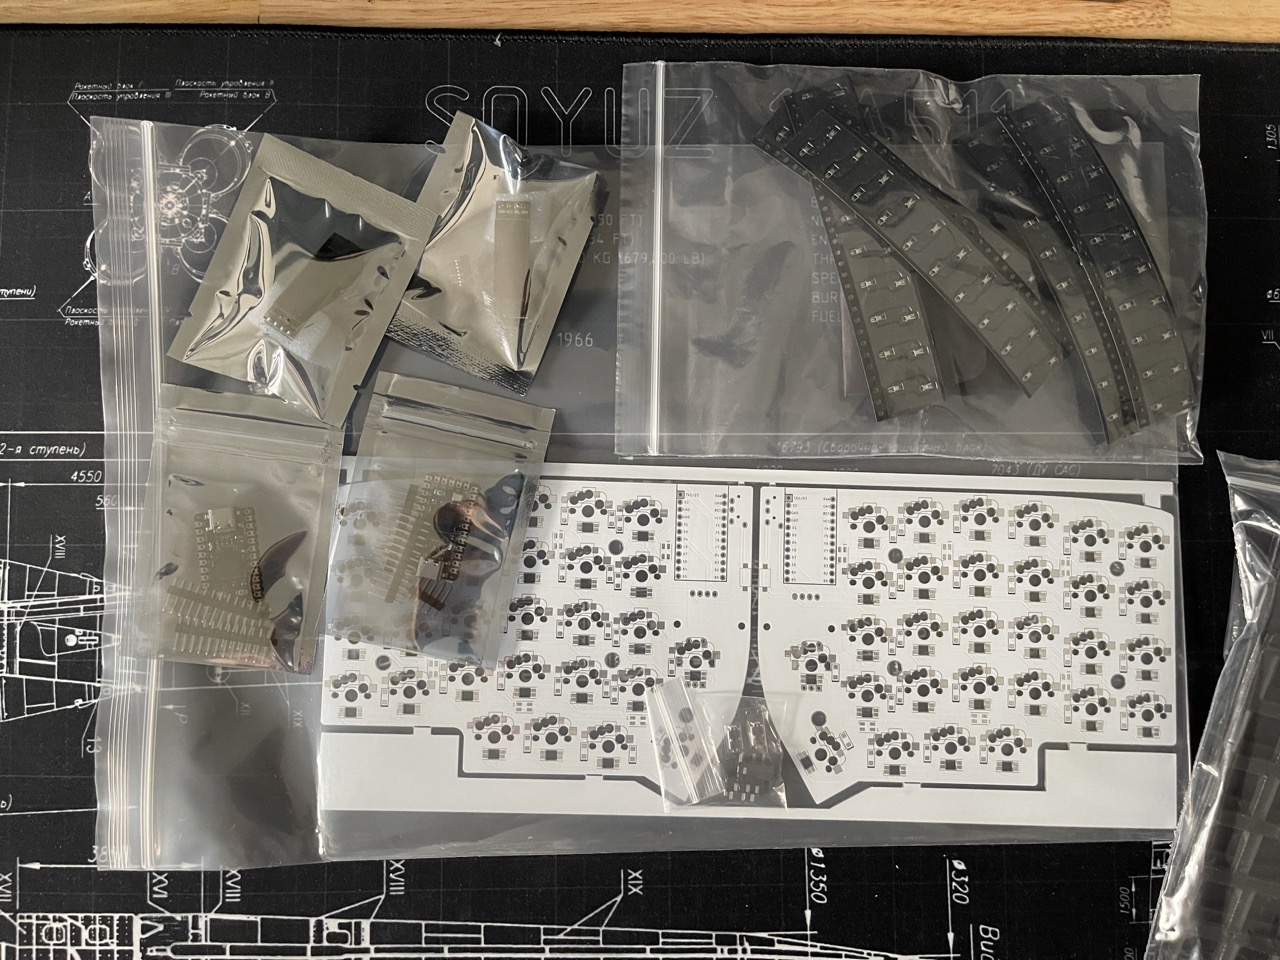
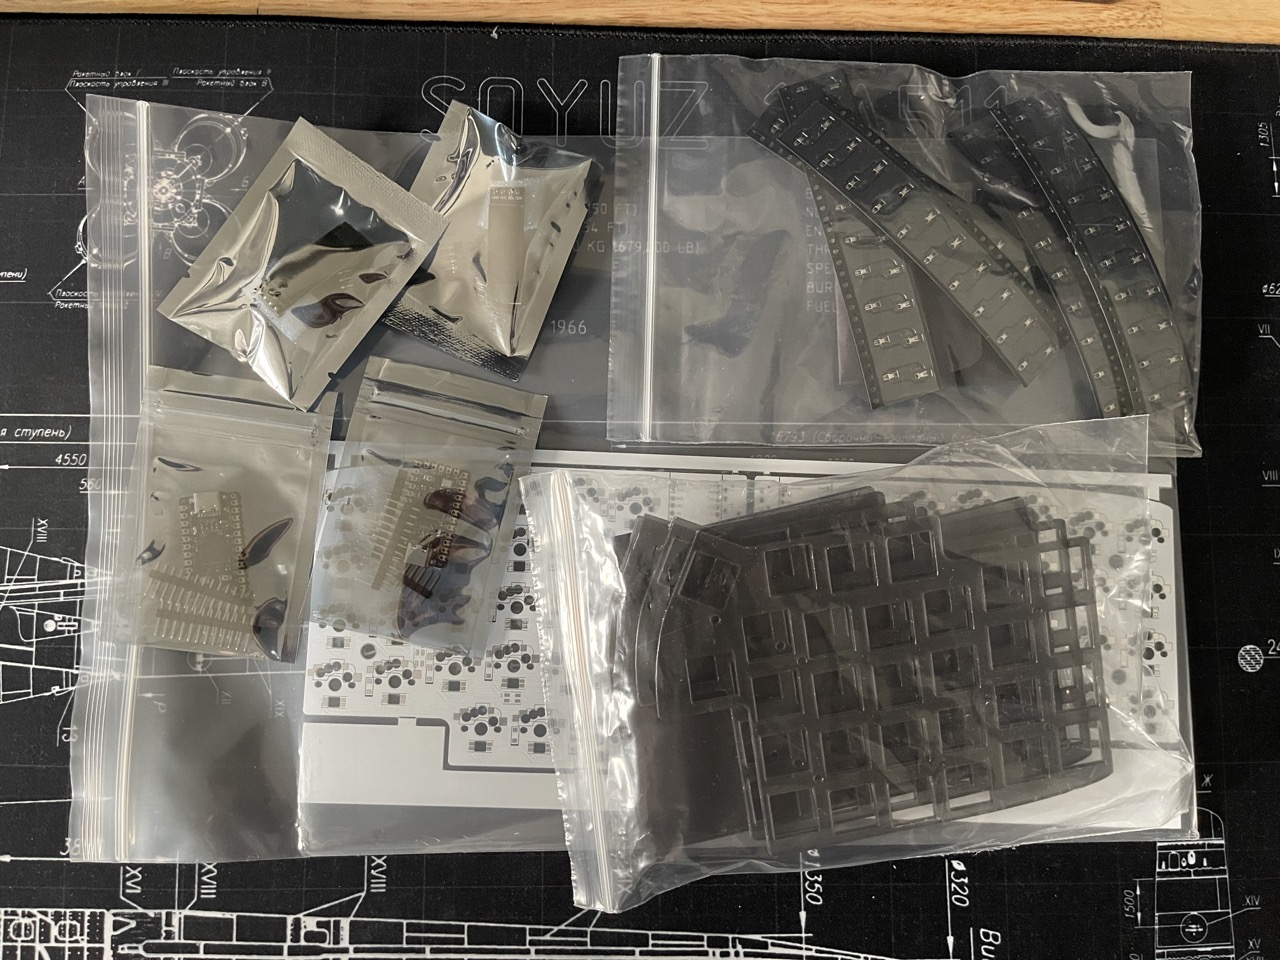
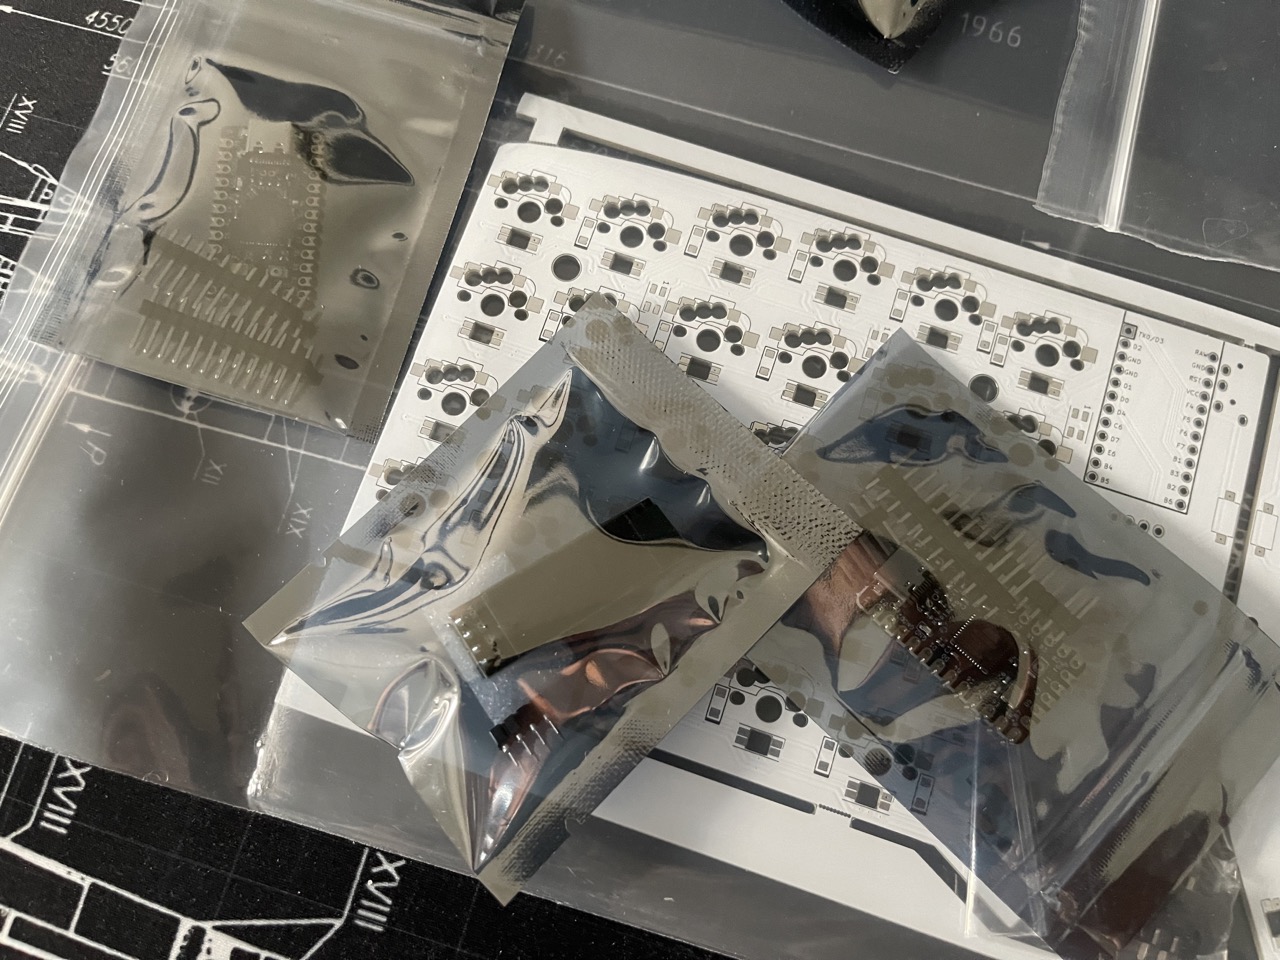
- Lily58 Pro PCBs – The backbone of the build. I sourced my PCBs, diodes, microcontroller, case, and OLED screens from Boardsource.
- Switches – Your fingers will thank you for picking the right ones. After some research, I settled on Gateron Milky Brown for their smooth, tactile feel.
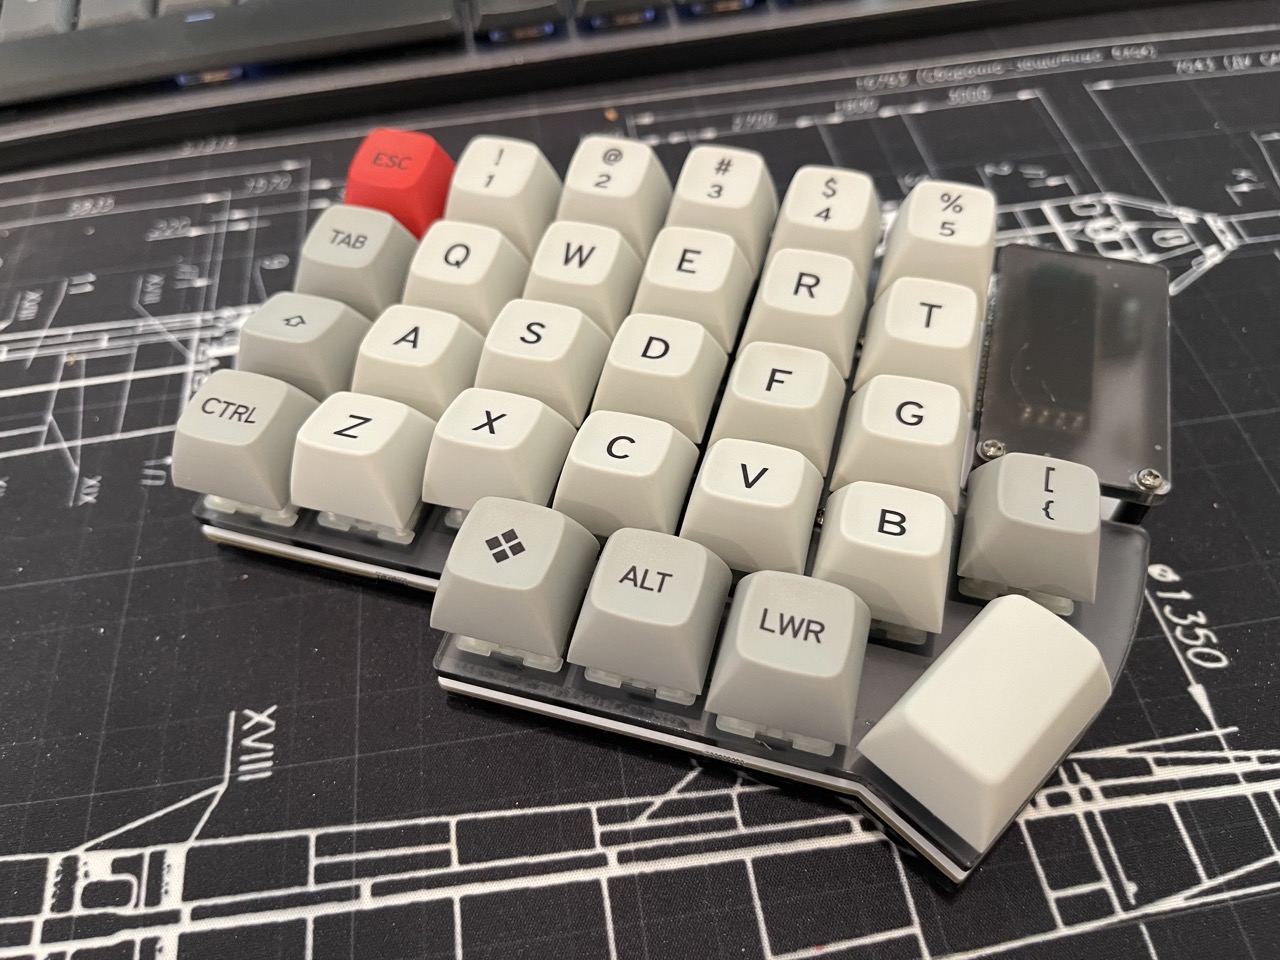
- Keycaps – The finishing touch. I went with the DROP + MATT3O /DEV/TTY MT3 CUSTOM KEYCAP SET R3 for their sculpted profile and retro vibe.
- Diodes – 29 per half, crucial for accurate key detection and preventing ghosting.
- TRRS Cable – Connects the two halves for communication.
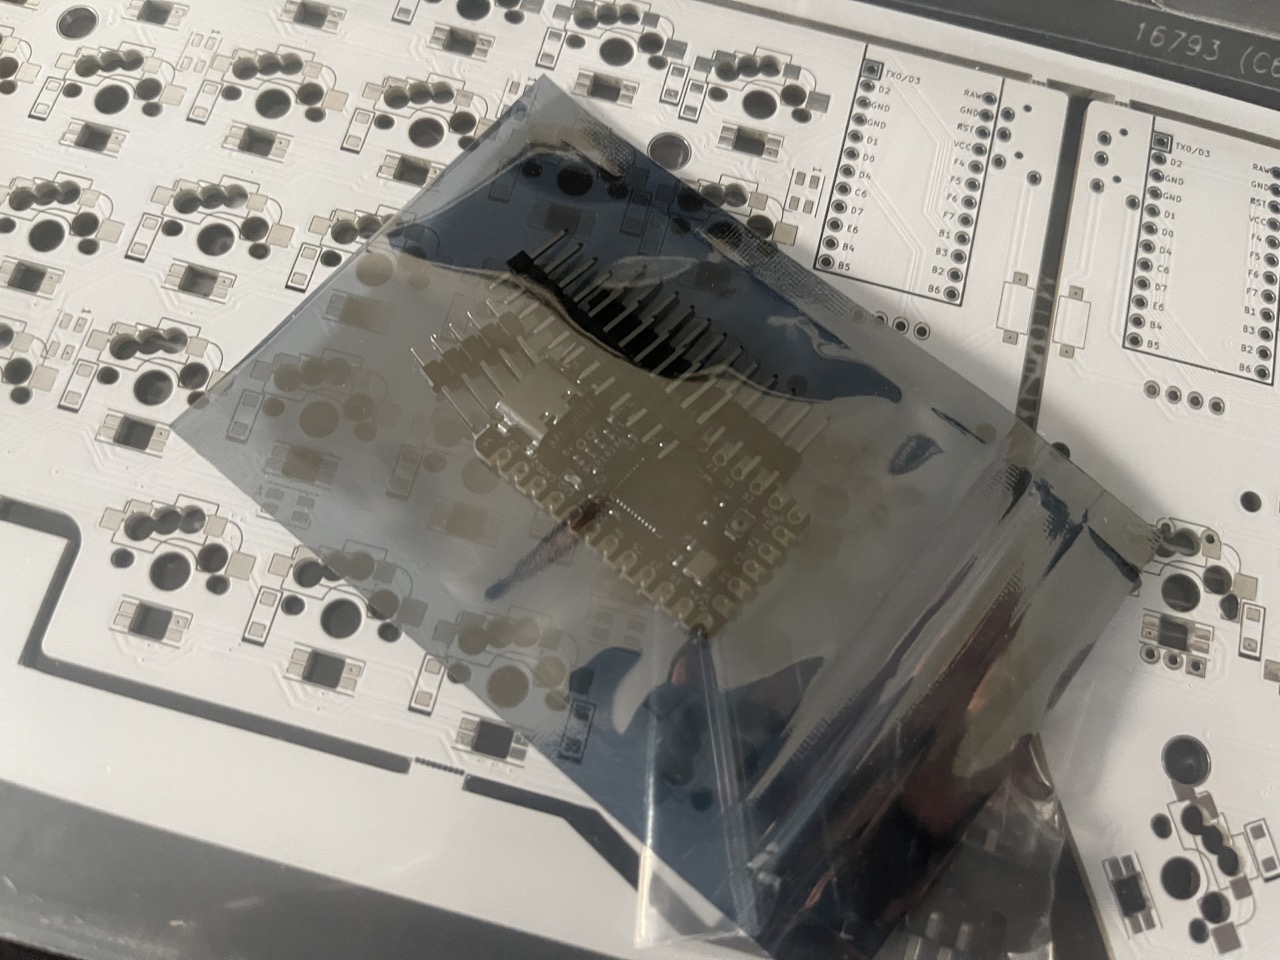
- Microcontroller – The Lily58 Pro supports Pro Micro or Elite-C. I chose the Elite-C v4 for its USB-C and QMK compatibility.
- Microcontroller Sockets – For easy hotswapping or replacement, I used Mill Max Ultra Low Profile Sockets and Pins.
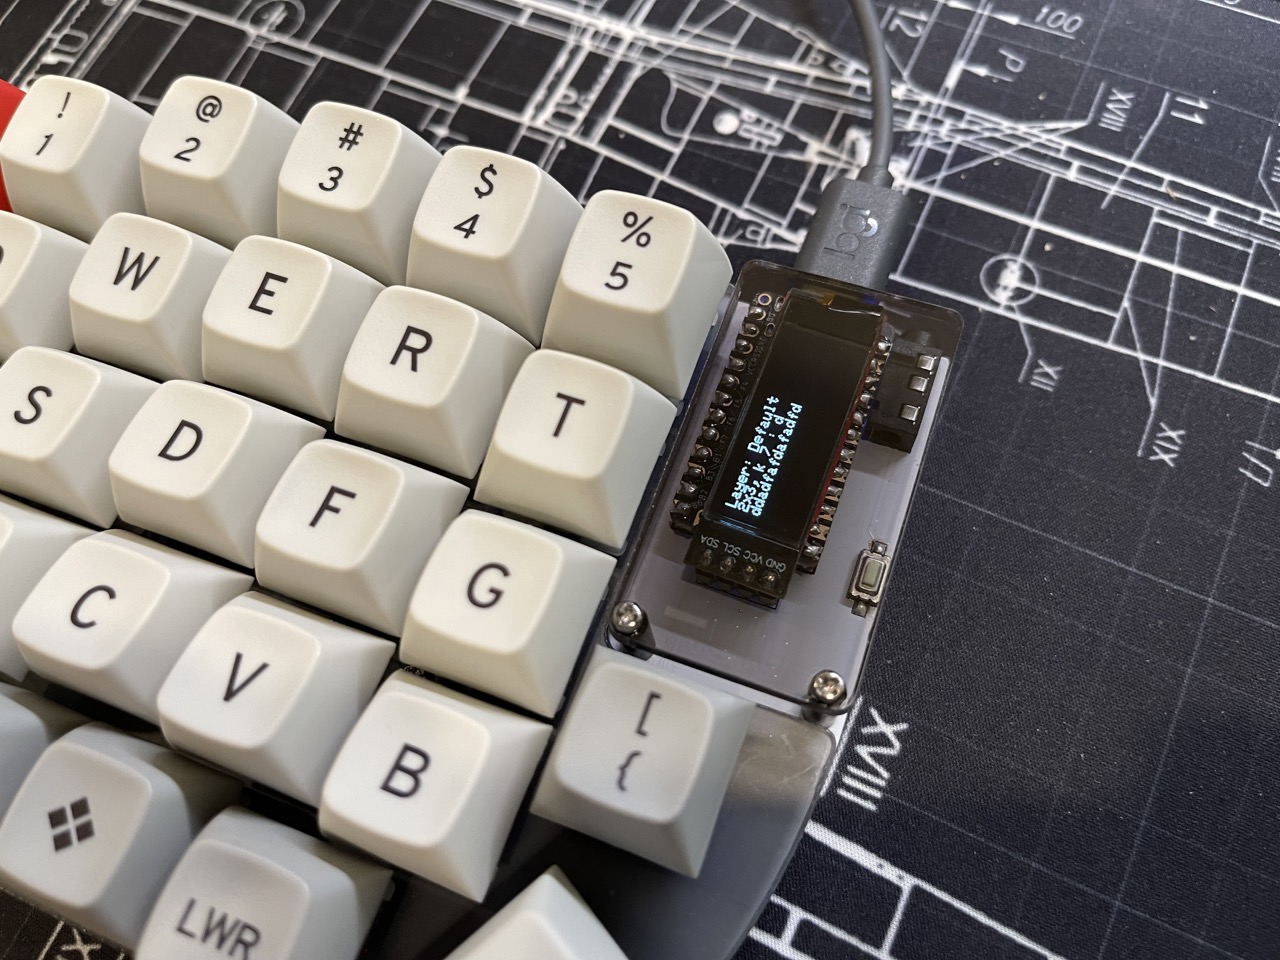
- OLED Screens – These I²C displays add a high-tech touch, showing layers or custom info.
- Case – Not strictly required, but it adds stability and protects your work. I went with an acrylic case for a clean look.
Step 2: Soldering Diodes
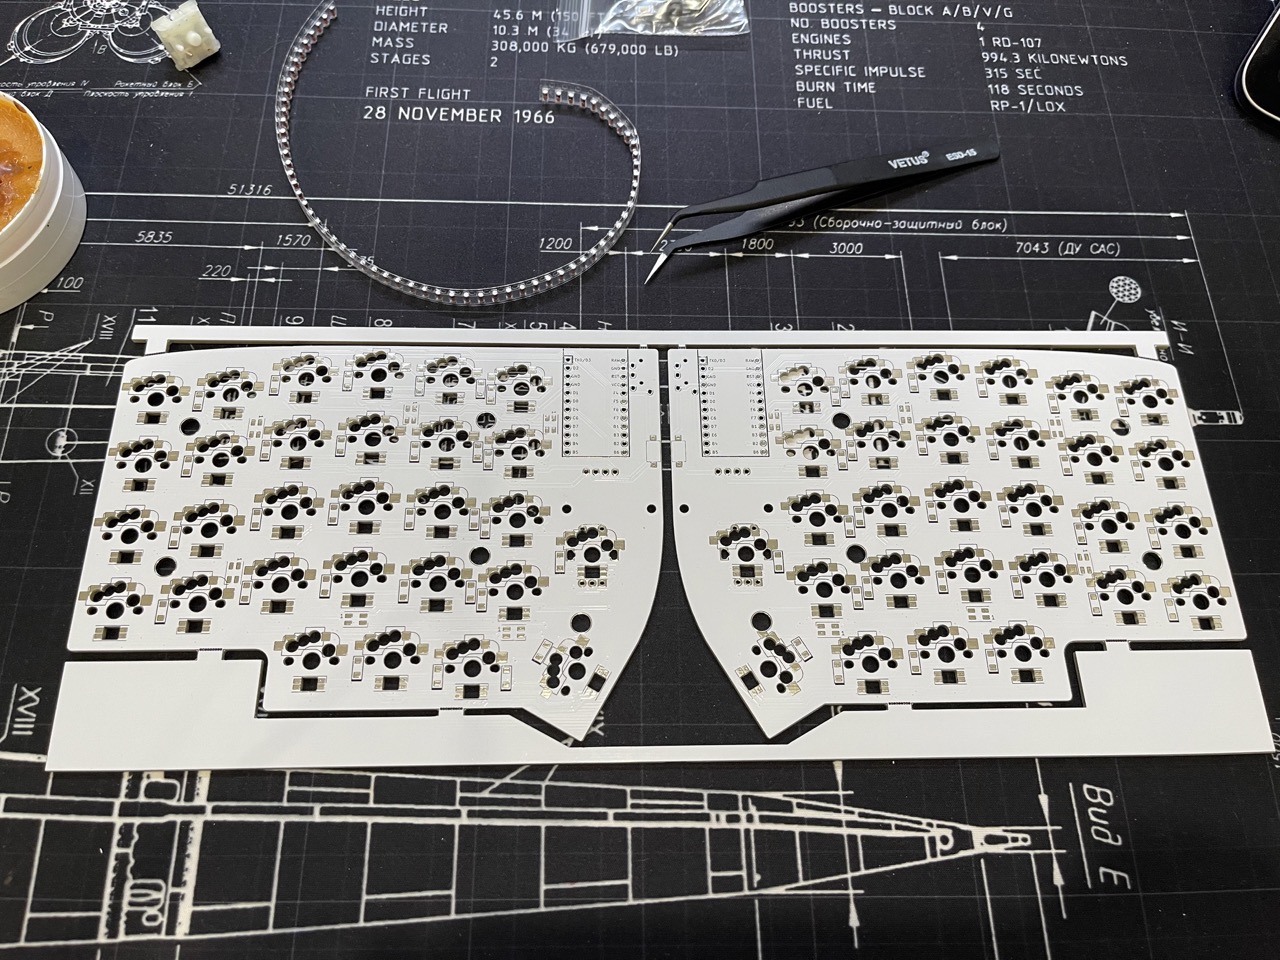
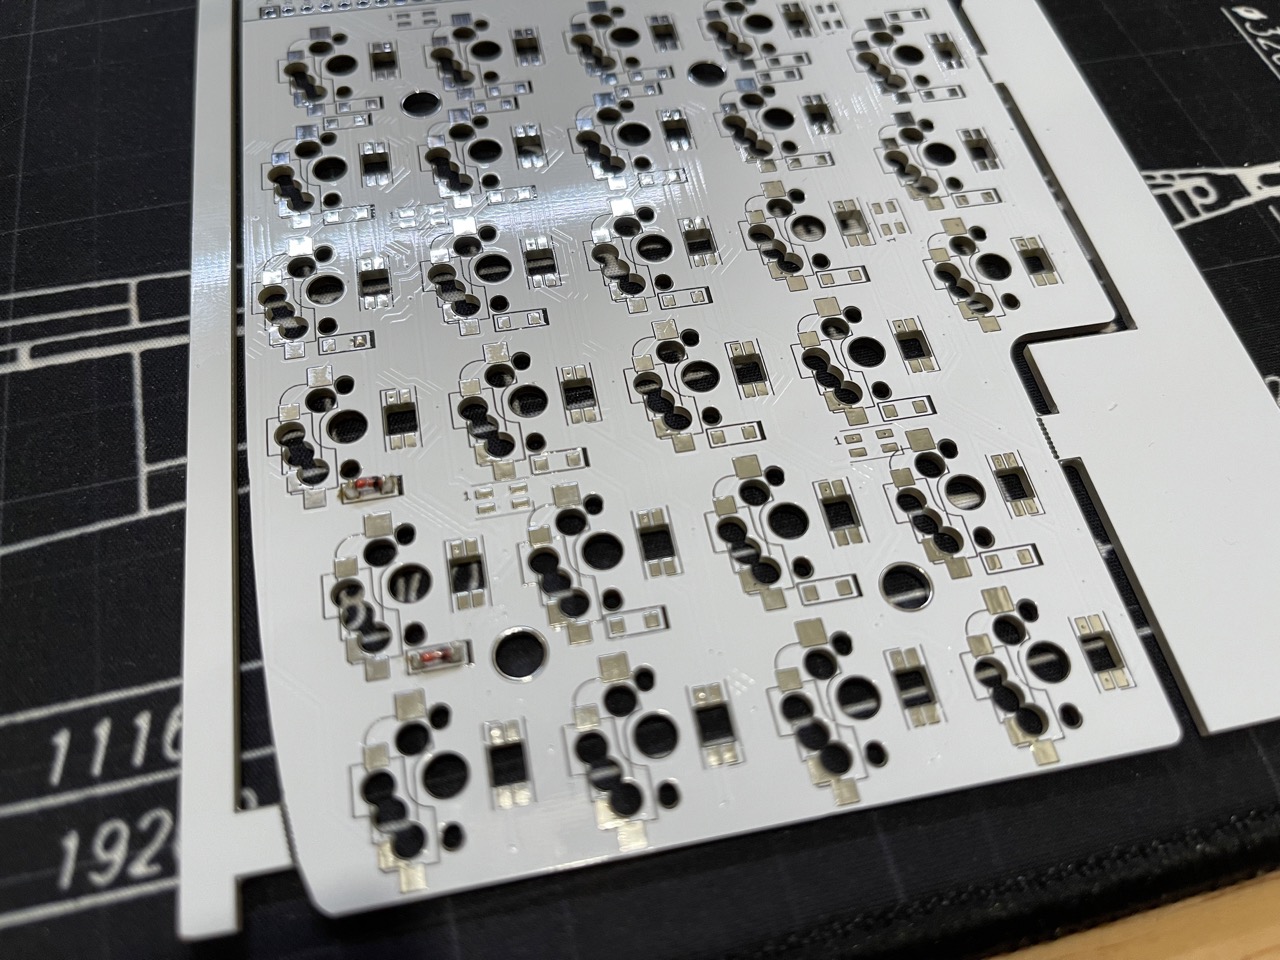
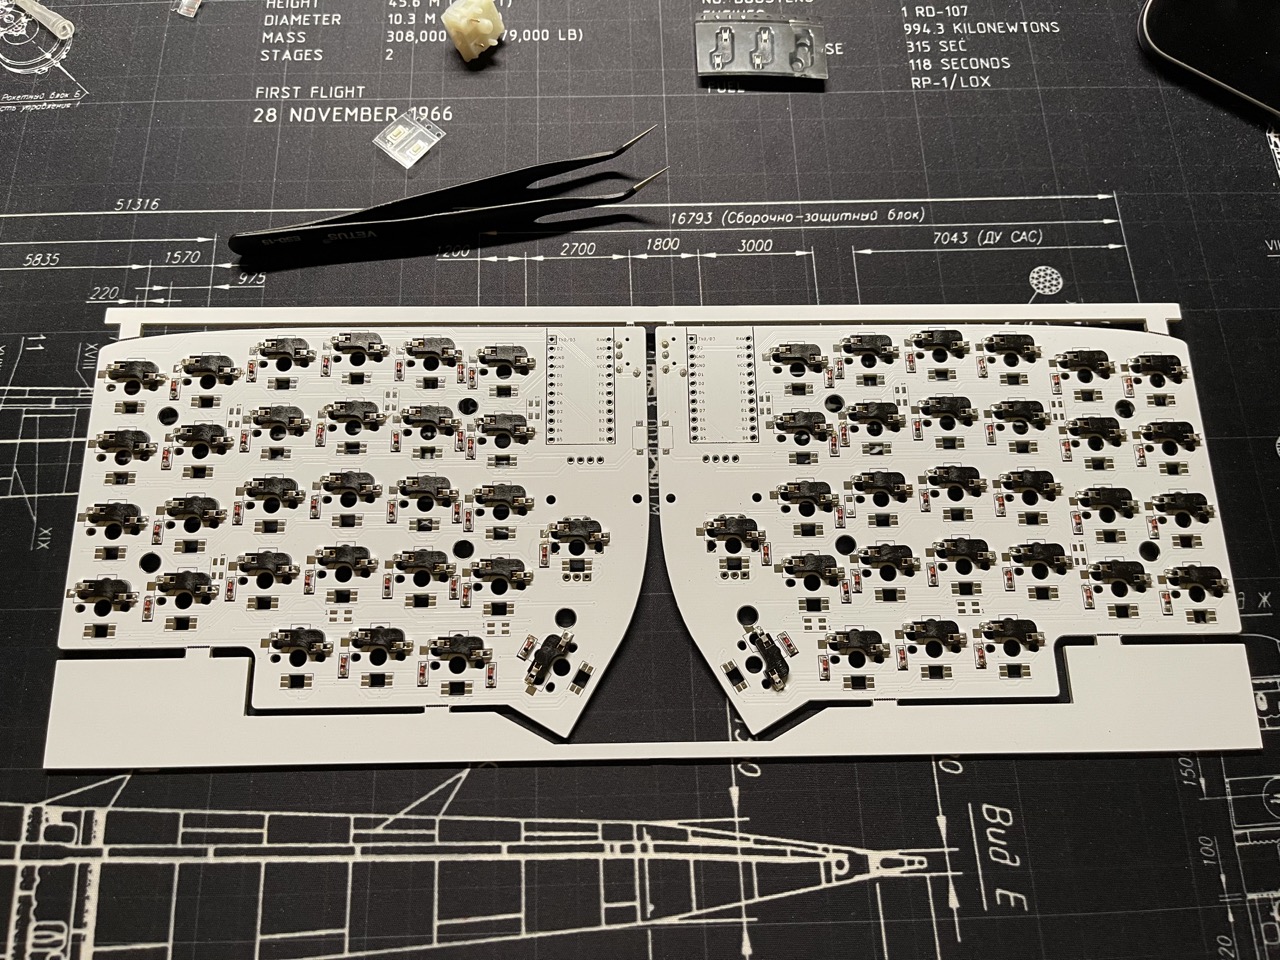
Inspect your PCBs for defects, then solder the 29 diodes per half on the bottom side, aligning the striped end with the PCB markings.
💡 Tip: Tin one pad first, hold the diode with tweezers, solder one leg, then the other. This makes the process much easier and cleaner.
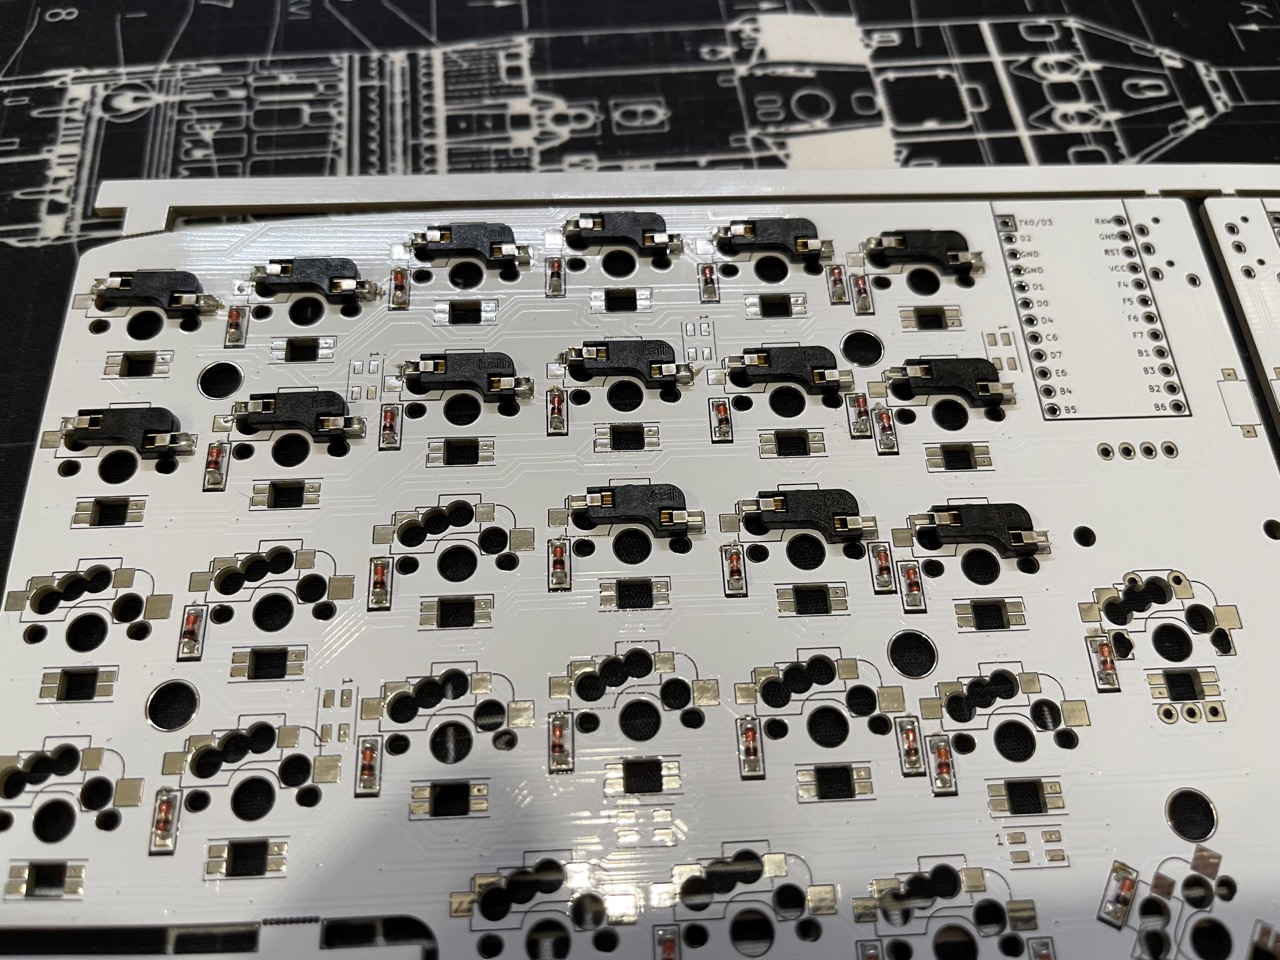
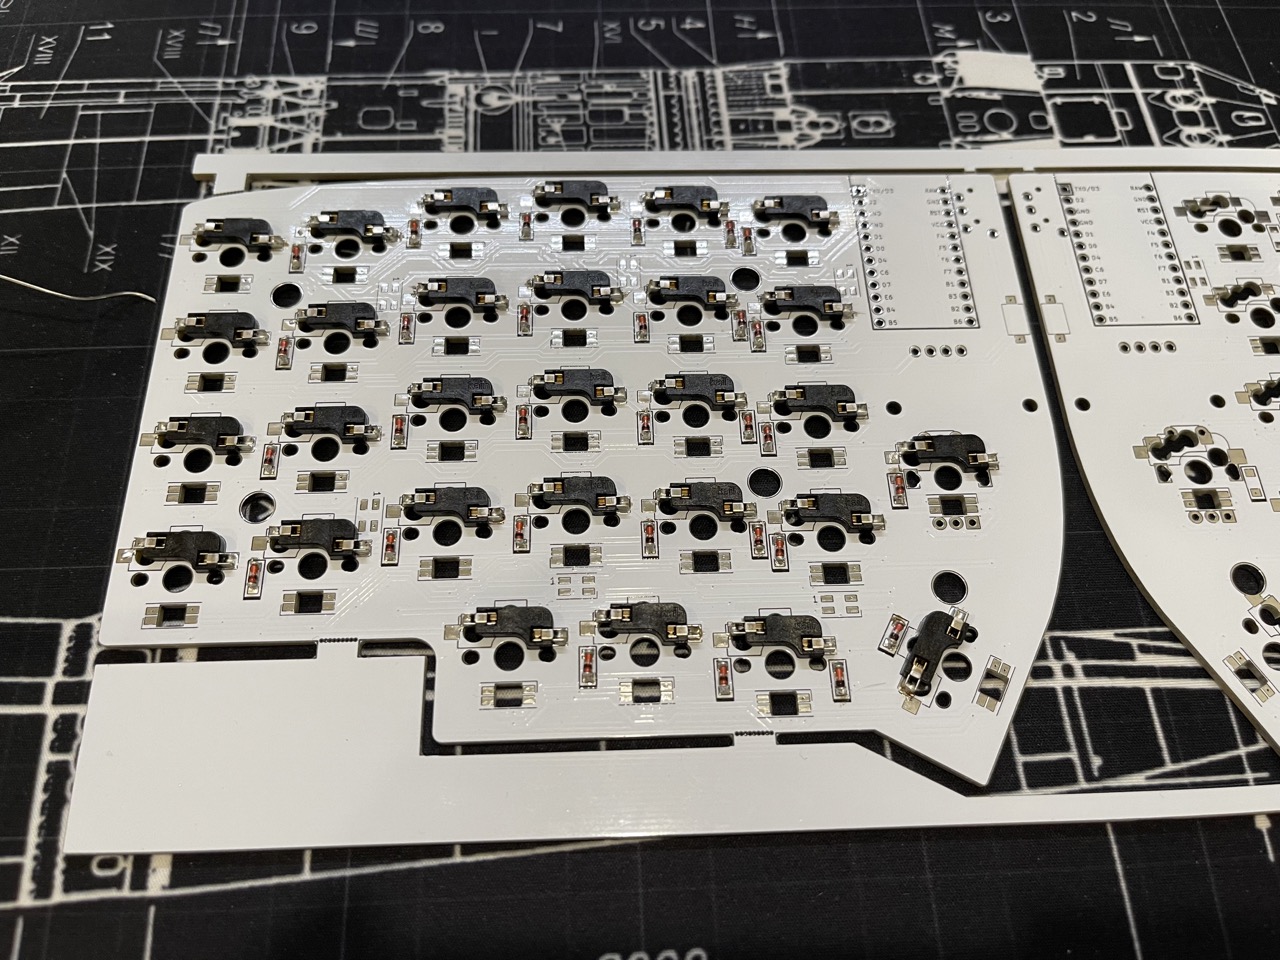
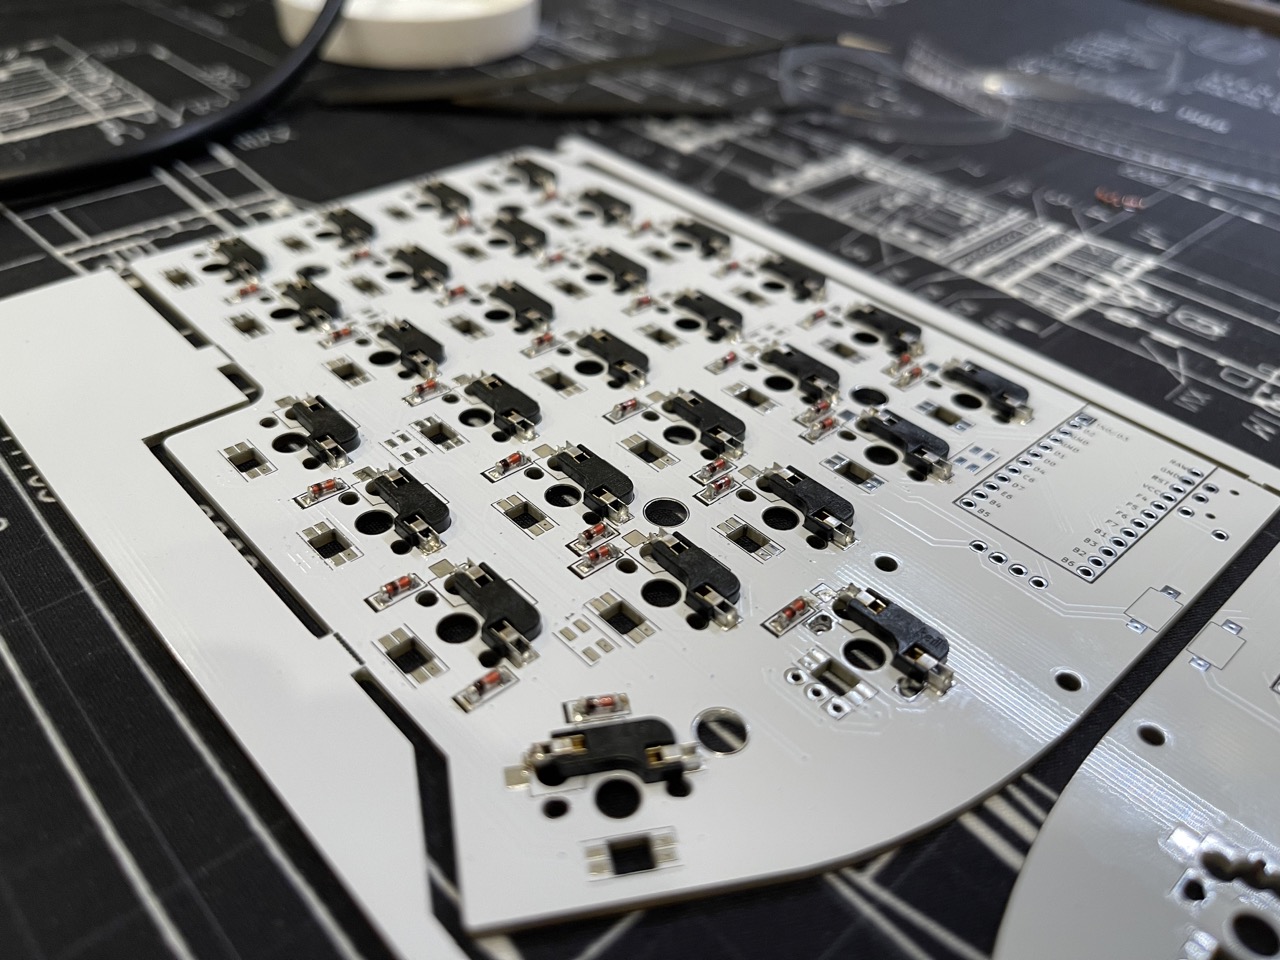
Step 3: Soldering Hotswap Switch Sockets
Solder the 29 Kailh hotswap sockets on the bottom side, matching the MX or Choc socket outline. Hotswap sockets are a game-changer—no more desoldering if you want to try new switches.
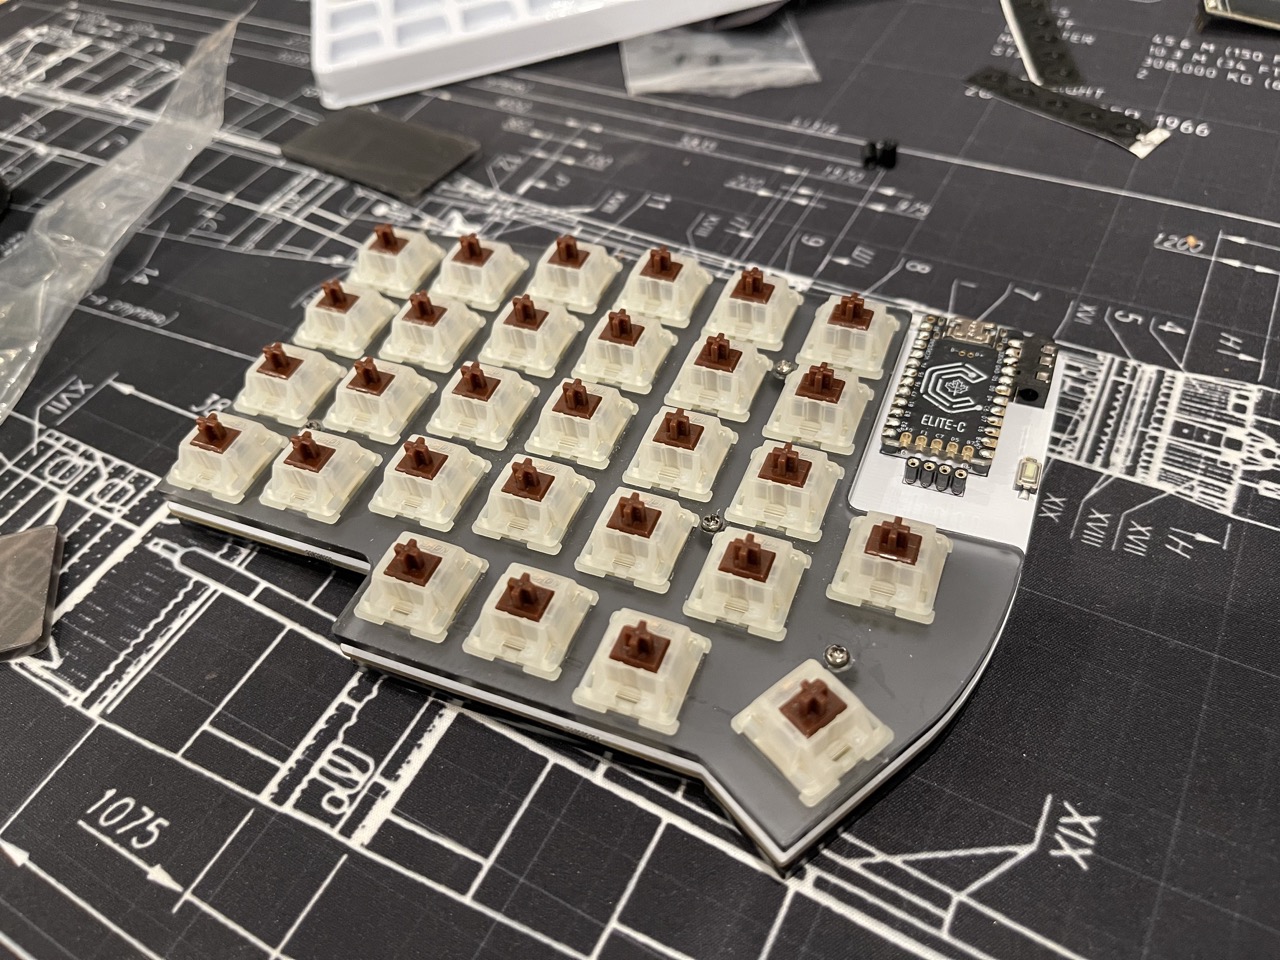
Step 4: Soldering Controller Hotswap Sockets
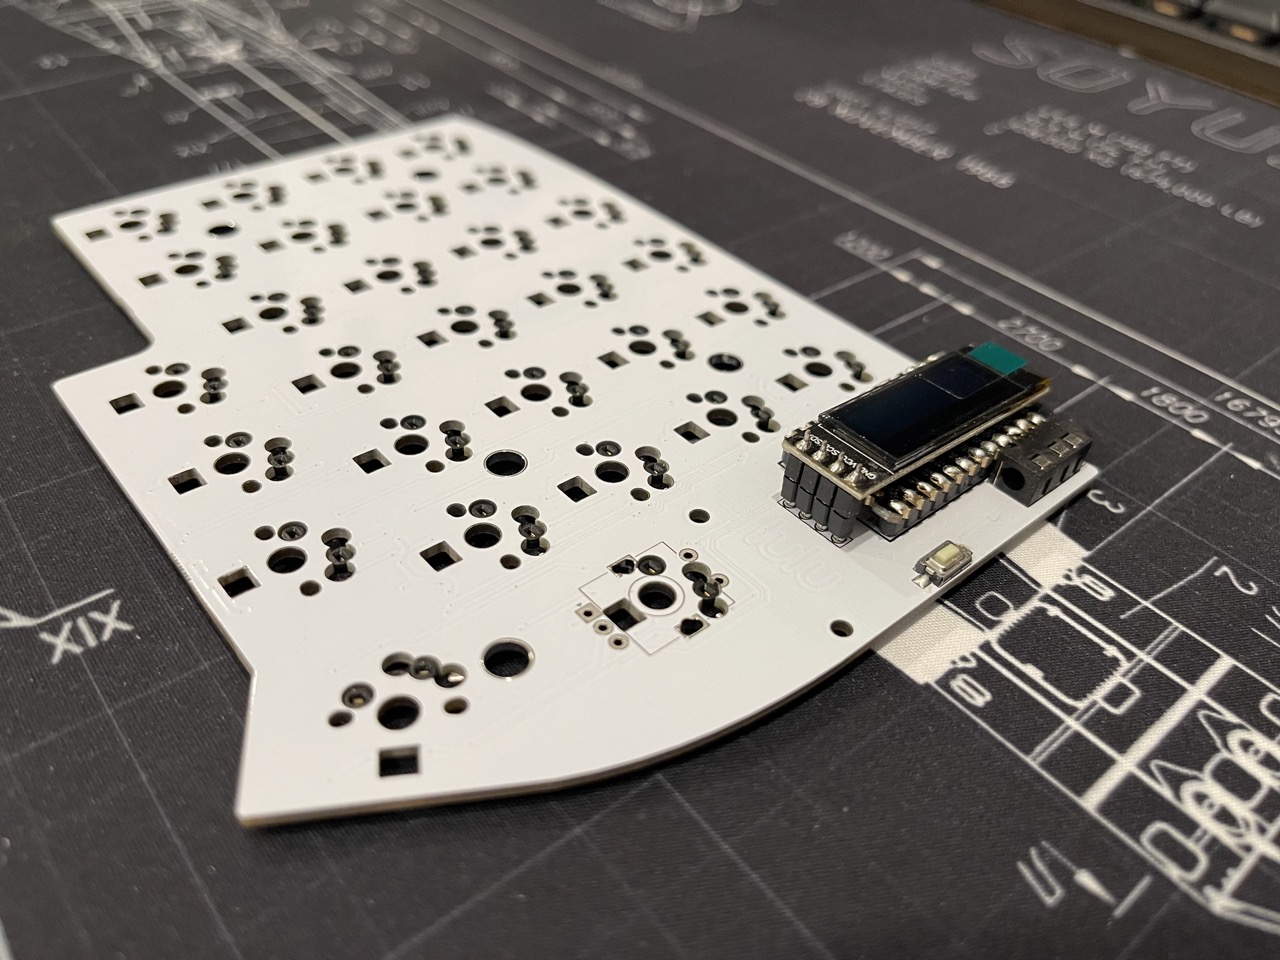
On the top side, solder the controller’s hotswap sockets in the marked rectangle. Insert the 24 Mill Max pins, then seat the controller (components facing down). This lets you swap controllers without touching a soldering iron.
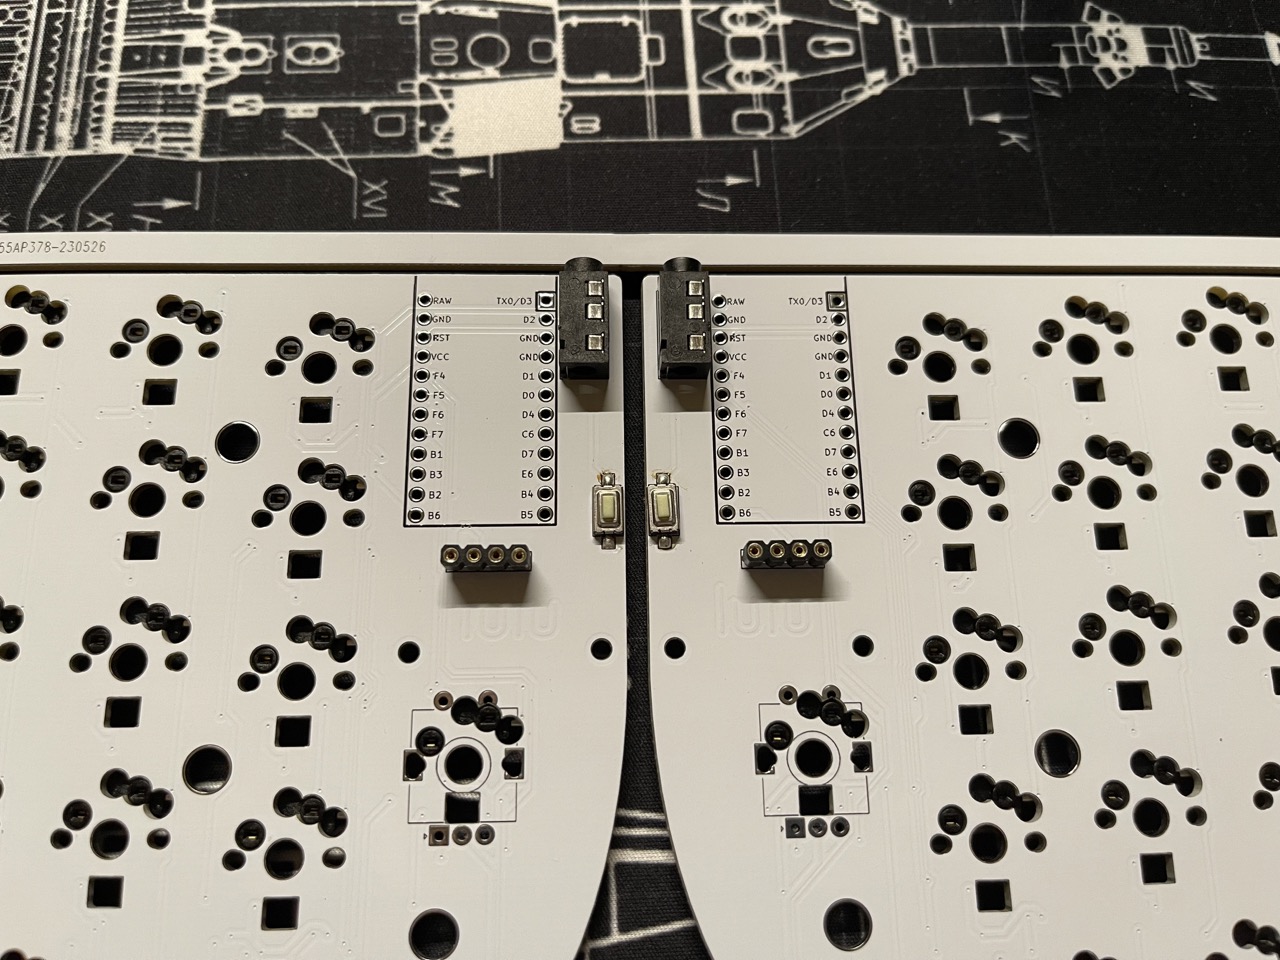
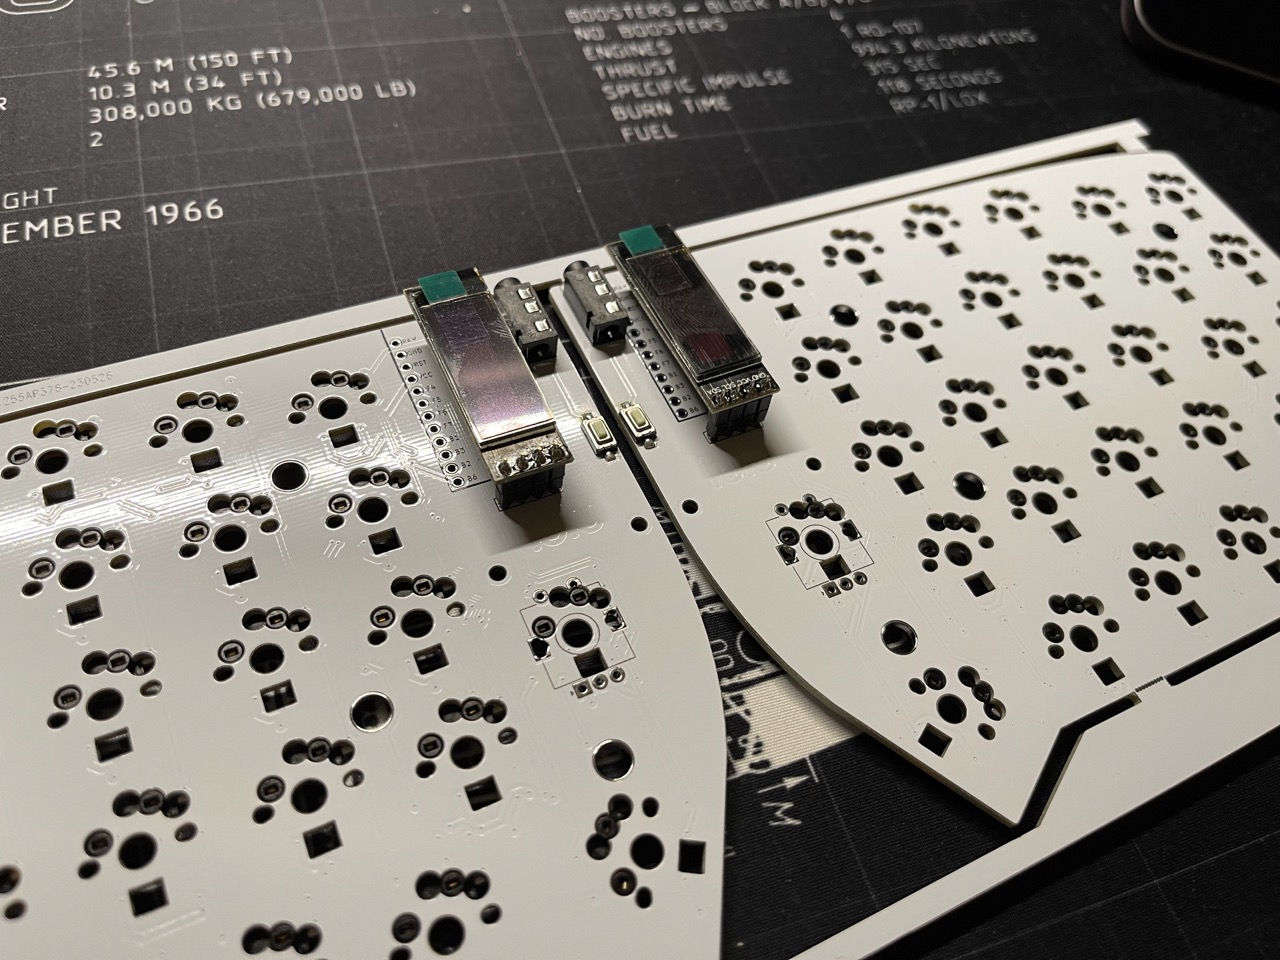
Step 5: Soldering TRRS Jack and Reset Switch

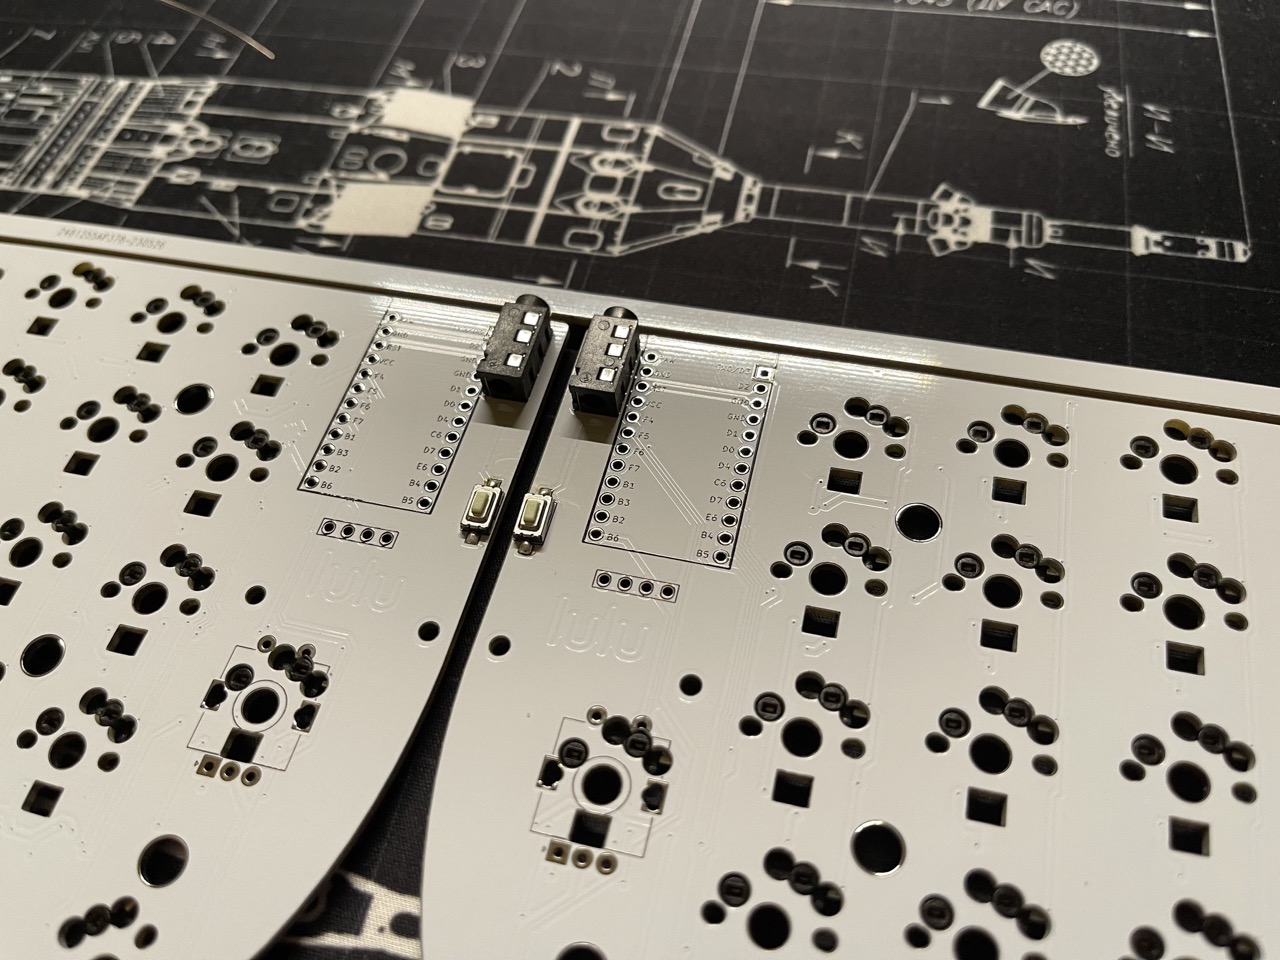
Solder the TRRS jack in its marked spot and the reset tactile switch on the top side. The reset switch is essential for flashing firmware and troubleshooting.
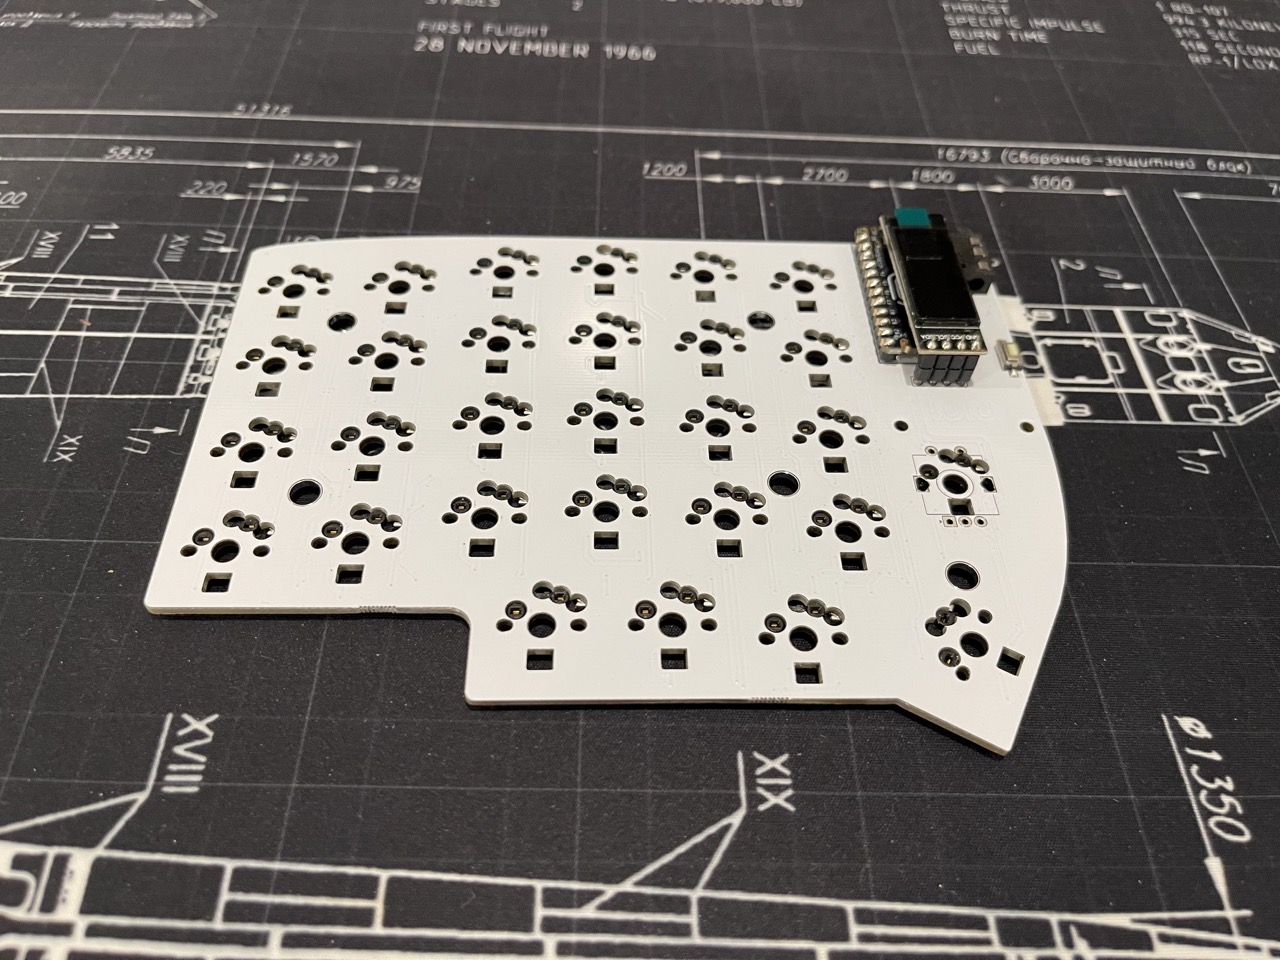
Step 6: Soldering OLED Screen Hotswap Sockets
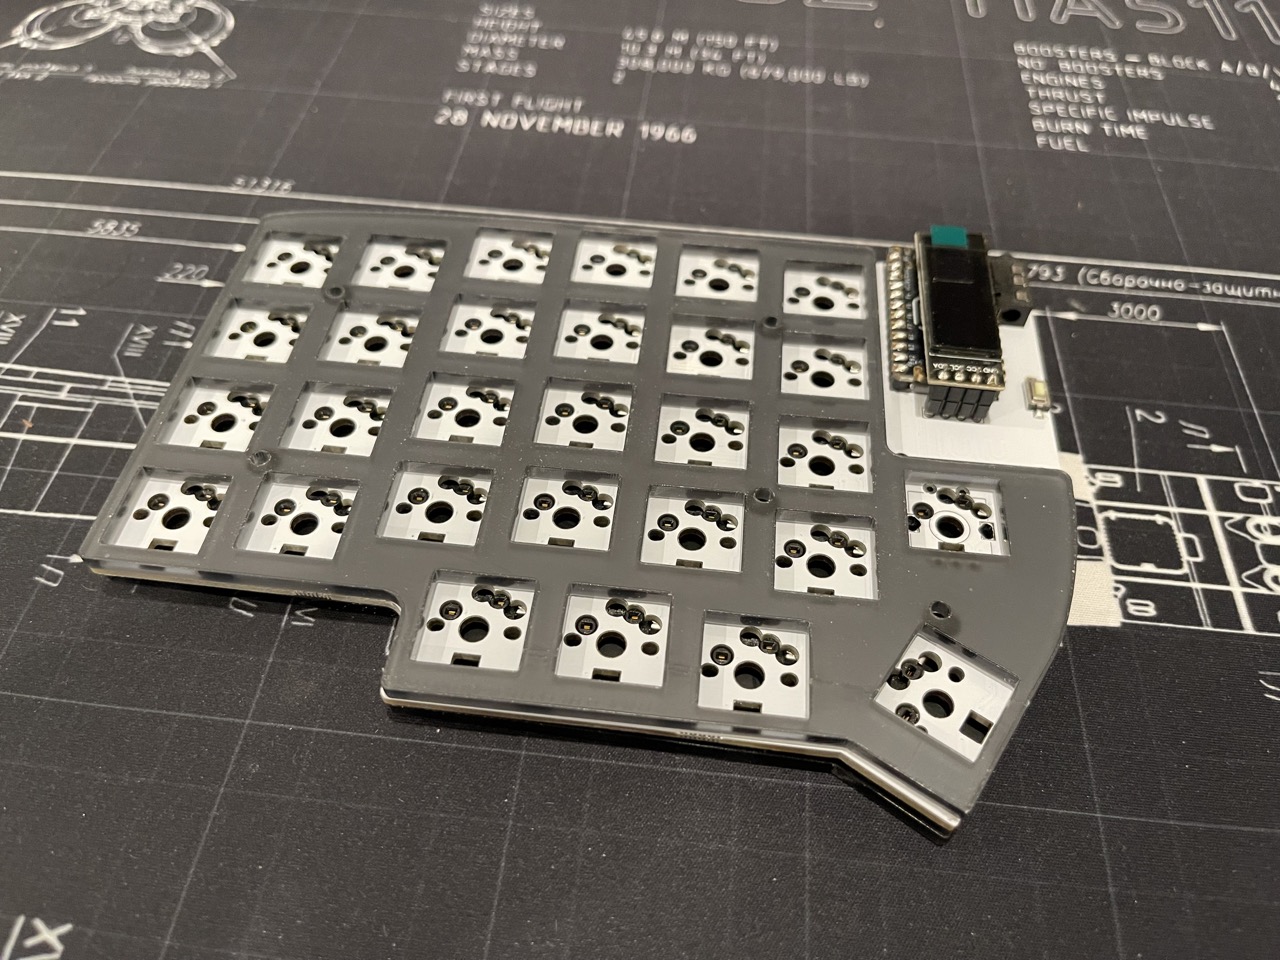
If you want to hotswap your OLED screens (recommended if you hotswap the controller), solder sockets for them too. Otherwise, solder the screens directly.
Step 7: Connect the PCBs
Plug in the TRRS cable to connect both halves. A firm connection ensures reliable communication.
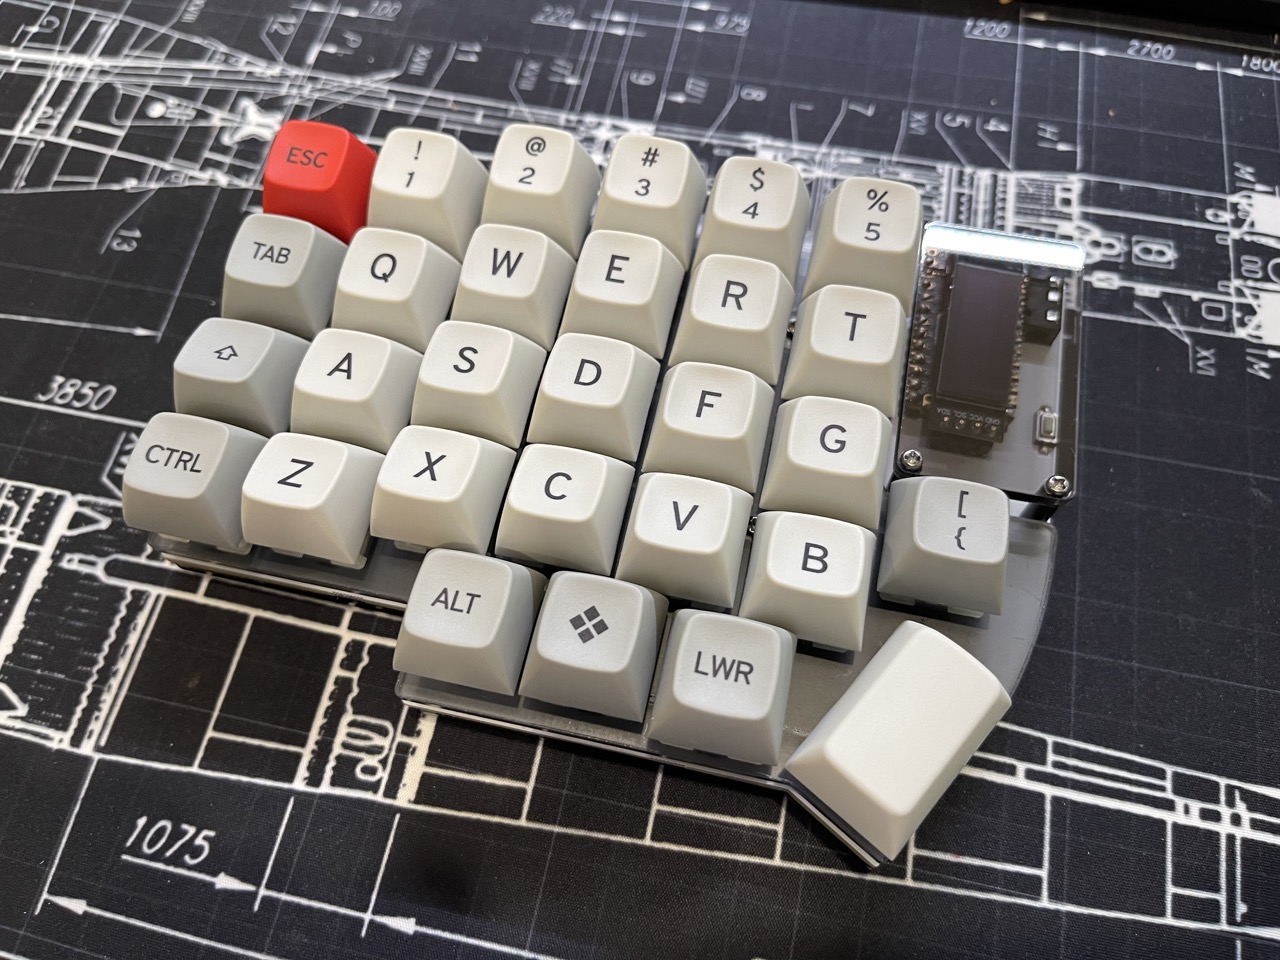
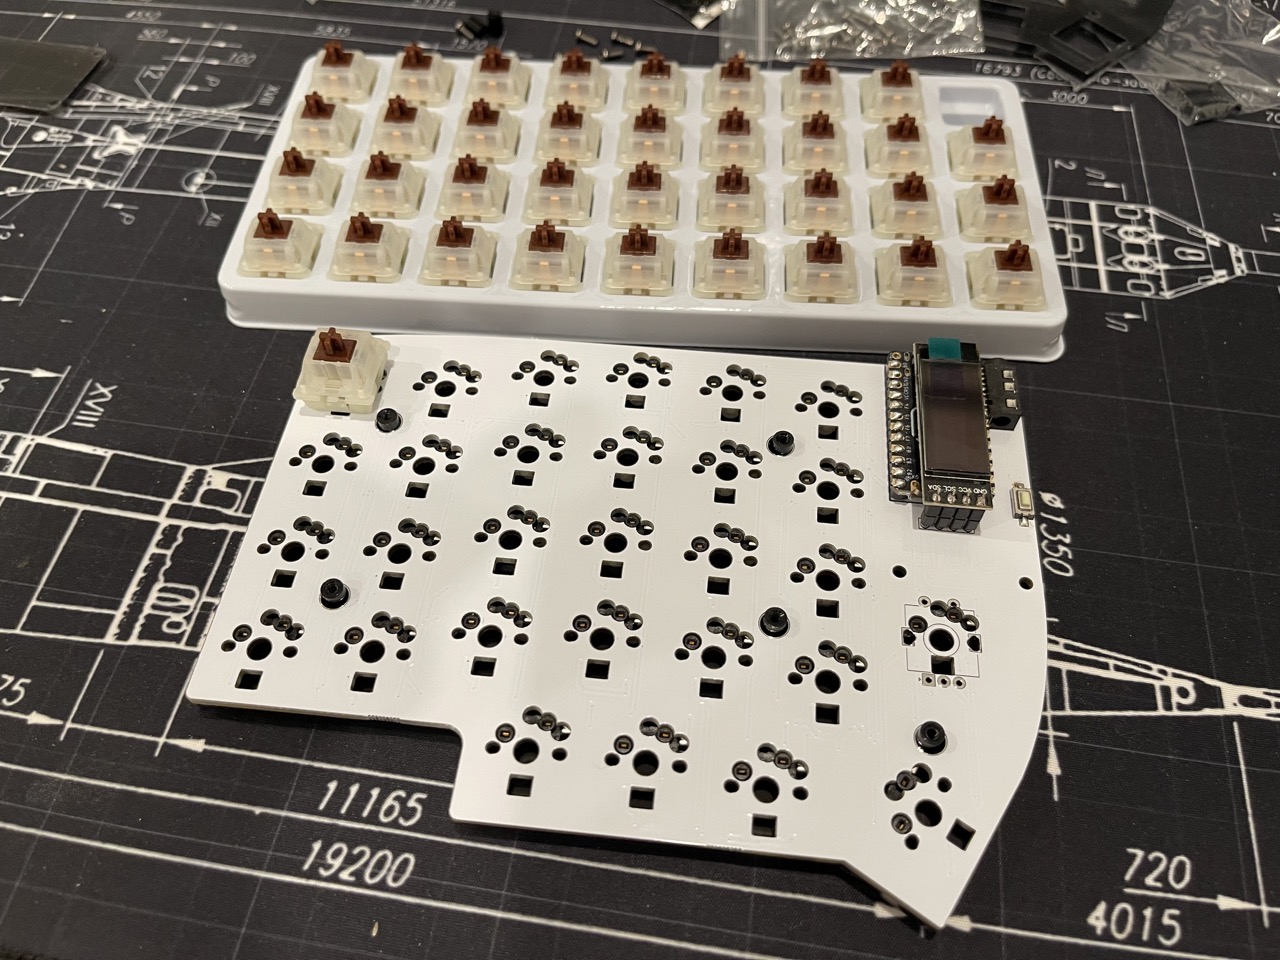
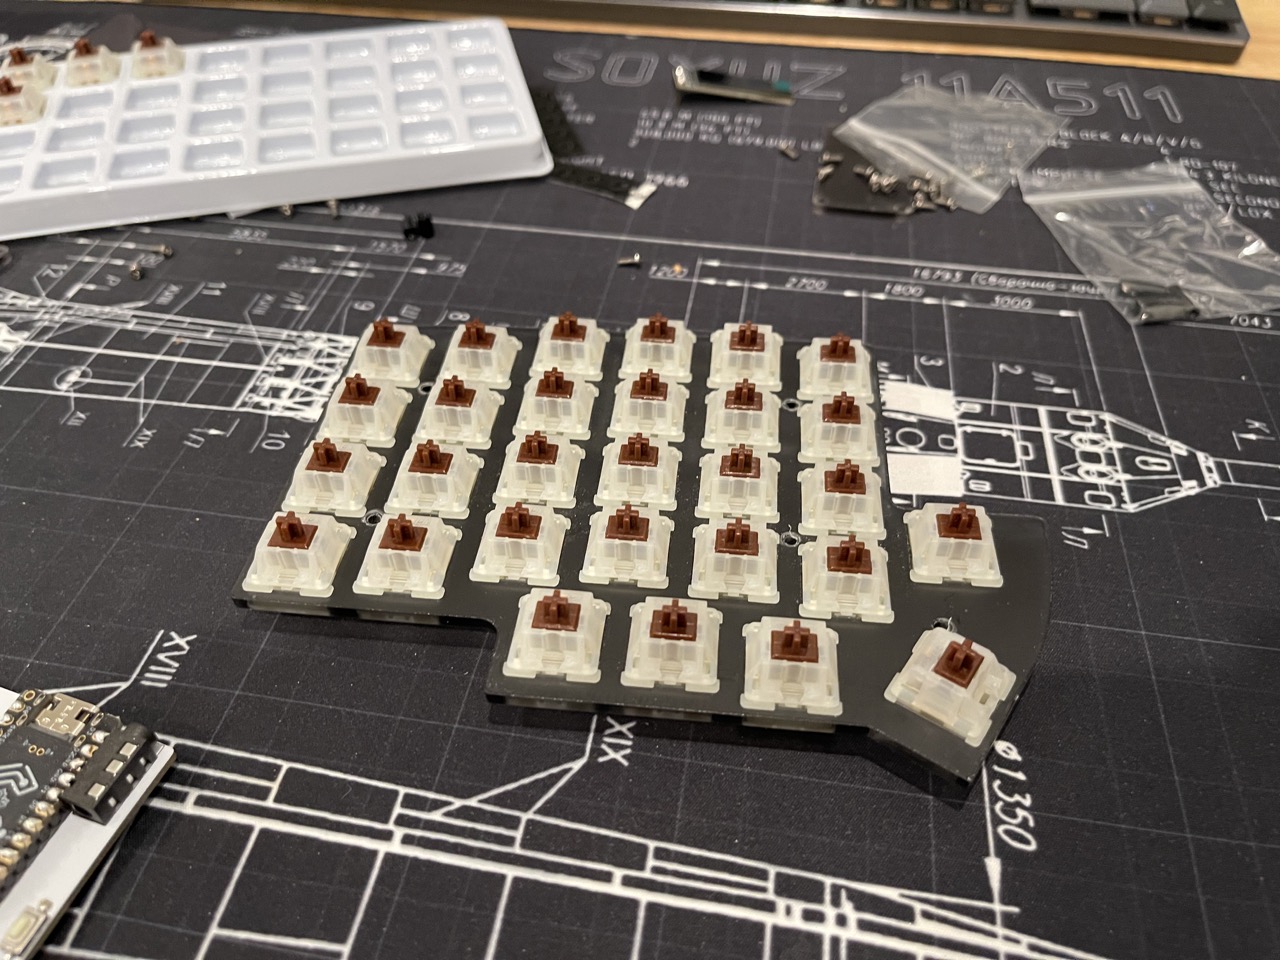
Step 8: Install Switches and Keycaps
Press your chosen switches into the hotswap sockets, then add your keycaps. Take your time to align everything—this is where your keyboard’s personality shines.
Step 9: Flash Microcontroller With QMK Firmware
Flash the Elite-C controllers using QMK Toolbox. If you’re new to QMK, check out:
QMK is incredibly powerful—layers, macros, tap dances, and more. You can truly make the keyboard your own.
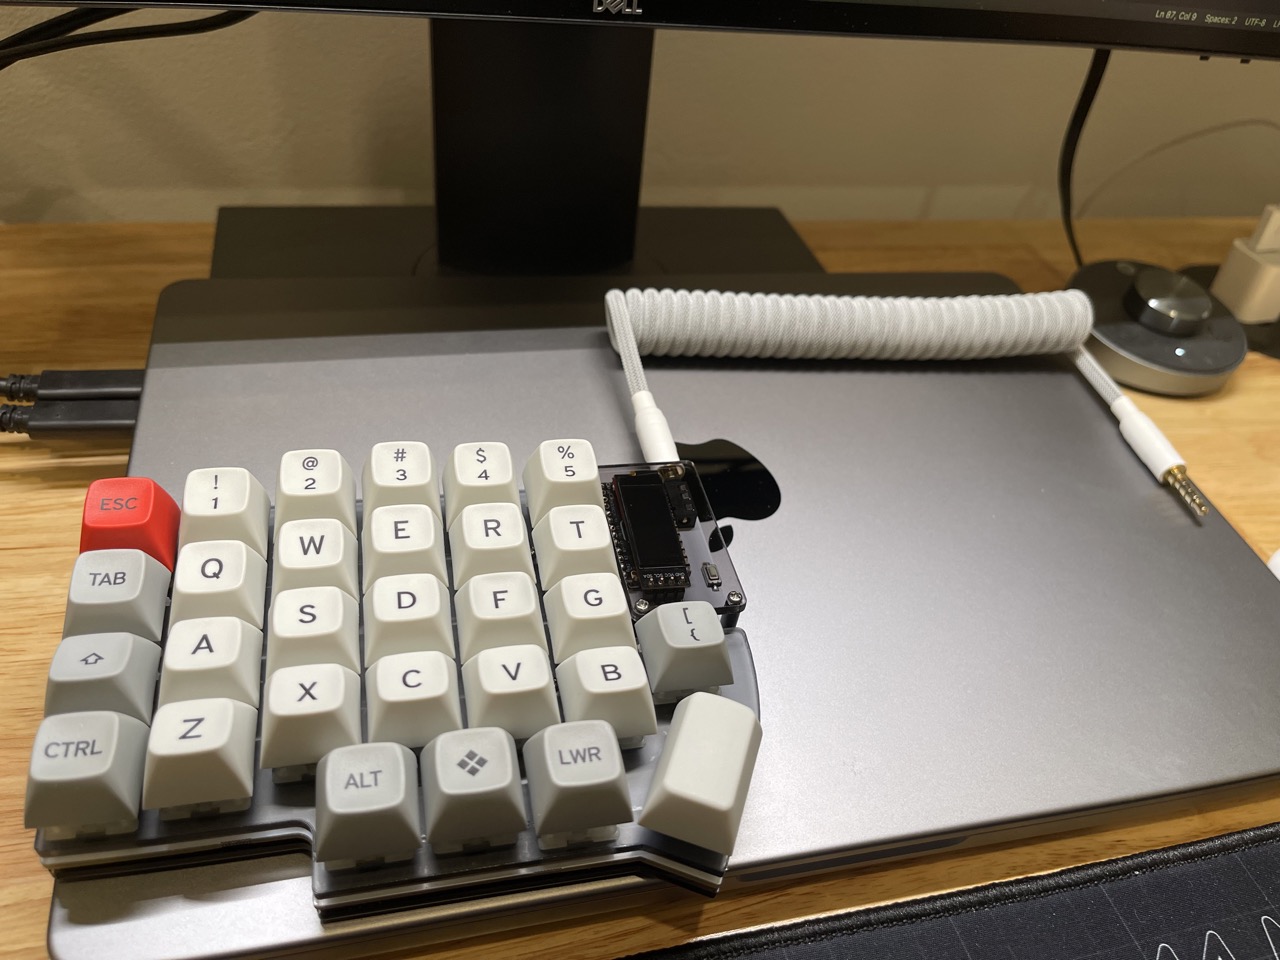
Step 10: Test and Configure
Connect your Lily58 Pro to your computer via USB and verify that all keys register. Now’s the time to tweak your keymap, experiment with layers, or add custom OLED graphics.
Reflections and What’s Next
Building the Lily58 Pro was a fantastic learning experience—soldering, troubleshooting, and customizing every detail. The split layout and tenting options really do make a difference for comfort, especially during long coding sessions.
But here’s the twist: after months of daily use and further research, I ended up switching to the ZSA Voyager. The Voyager’s build quality, software configurability (via Oryx) fit my workflow even better. Still, the Lily58 Pro project gave me a deep appreciation for open-source hardware and the vibrant split keyboard community.
Conclusion
If you’re a programmer or keyboard enthusiast looking to level up your typing experience, building a split keyboard like the Lily58 Pro is a rewarding project. You’ll learn a ton, gain a unique tool tailored to your needs, and join a passionate community of makers.
Happy building—and don’t be afraid to experiment. Your perfect keyboard might be just one more build away!