🐾The First Steps With Ubiquity
Not so long ago I was seriously puzzled by the question of a more competent organization of the local network at home. Since the number of devices is constantly increasing: phones, tablets, smart devices (Google Mini, Echo Spot, etc), laptops, IoT, TV, AV Receivers, etc. Security becomes the cornerstone and if all devices are connected to a single access point, in my case ASUS RT-AC3200 there is no distinction how each type of device could communicate with each other. For example, I don’t want to give smart devices like Google Mini to get access to my NAS or even “see” the NAS. VLANs for each type of device could be useful for delimitation the boundaries of the devices.
After Googling and researching I settled upon Ubiquity products. They provide plenty of options to build the network, starting from home devices and ending with more sophisticated, enterprise-level devices.
The next step was research on how to achieve what I need, i.e. delimitation the boundaries of the devices. Luckily I found an amazing YouTube channel and video on that channel, see the link below.
Where the author describes how to organize, configure the VLANs, create the rules. His approach totally makes sense for my setup, even the handy spreadsheet to write down information about patch panel ports, VLANs, static IPs, comments, etc. You can download the spreadsheet from here.
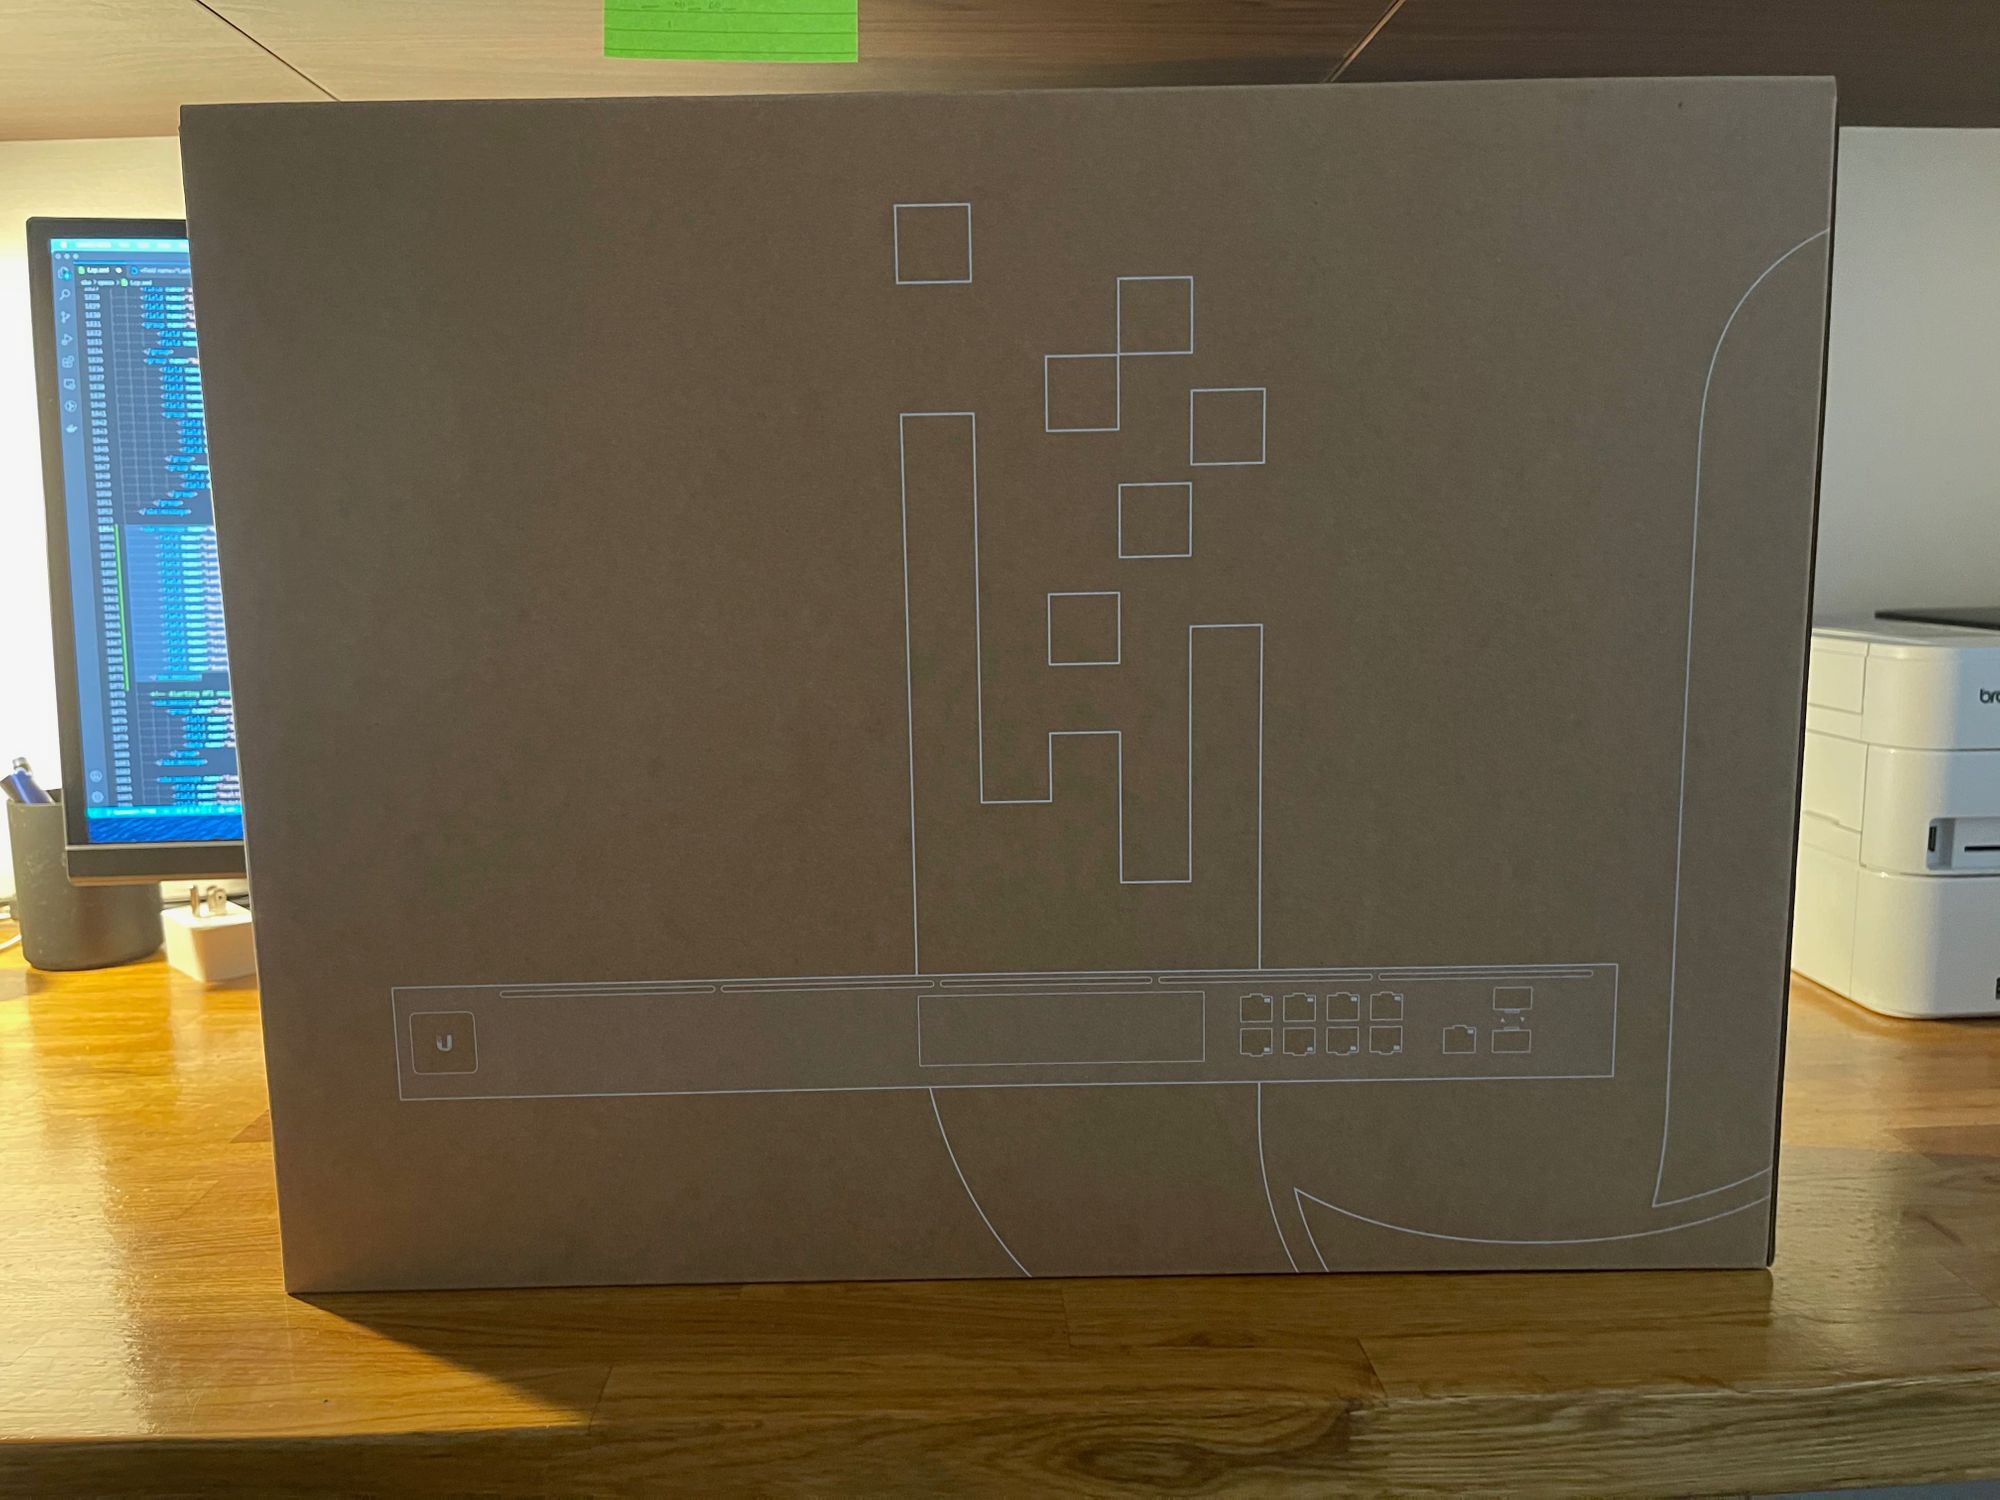
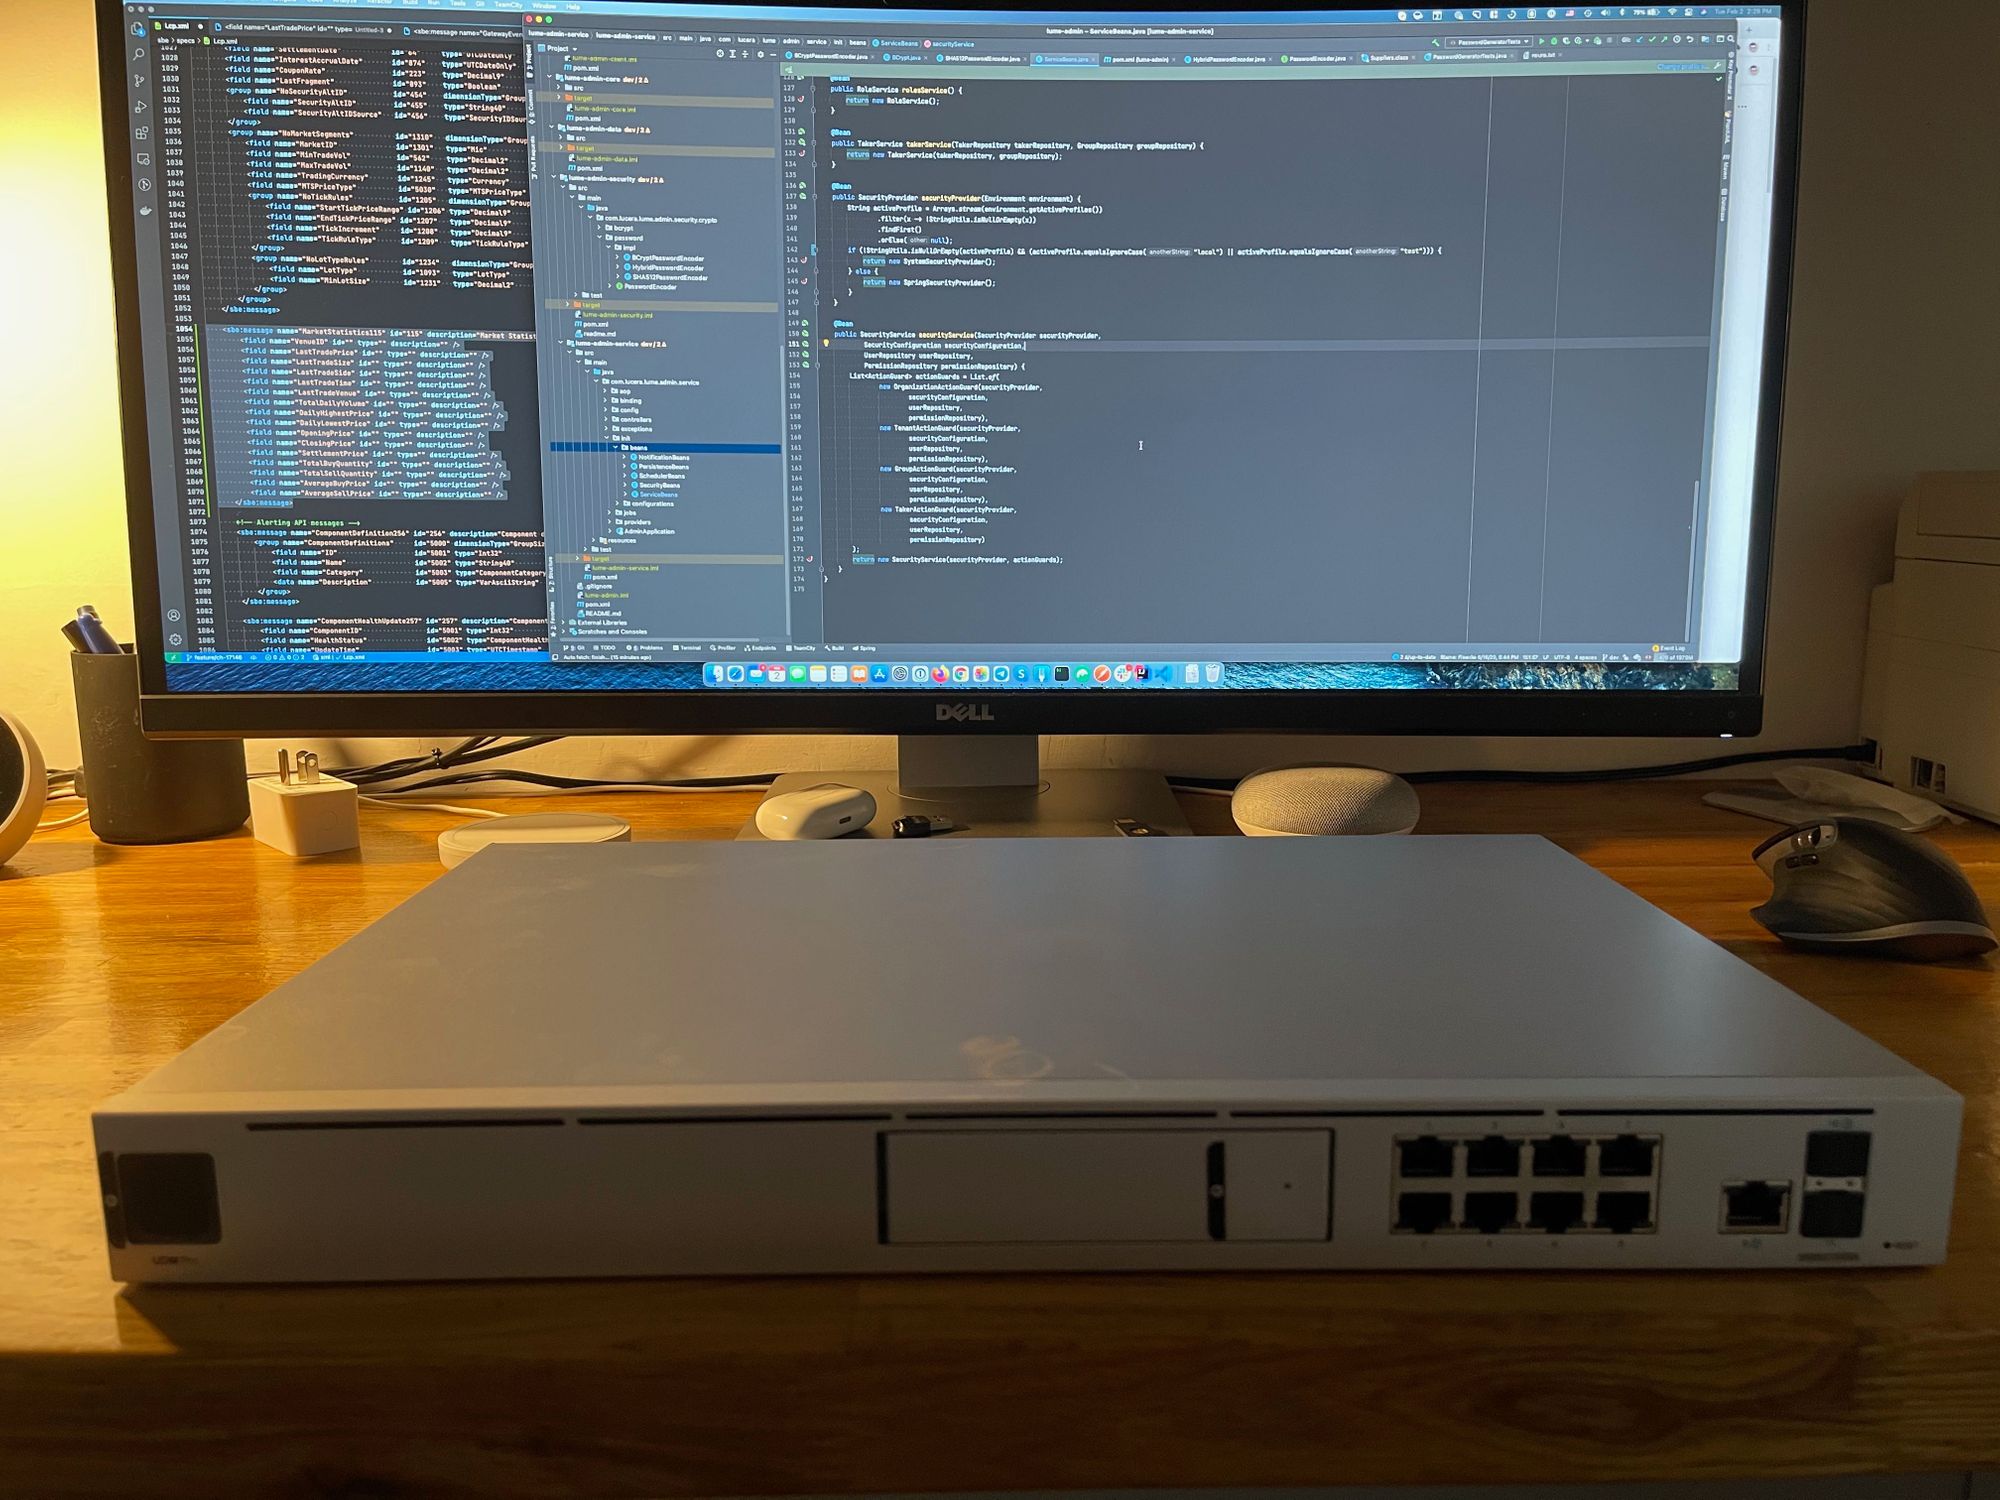
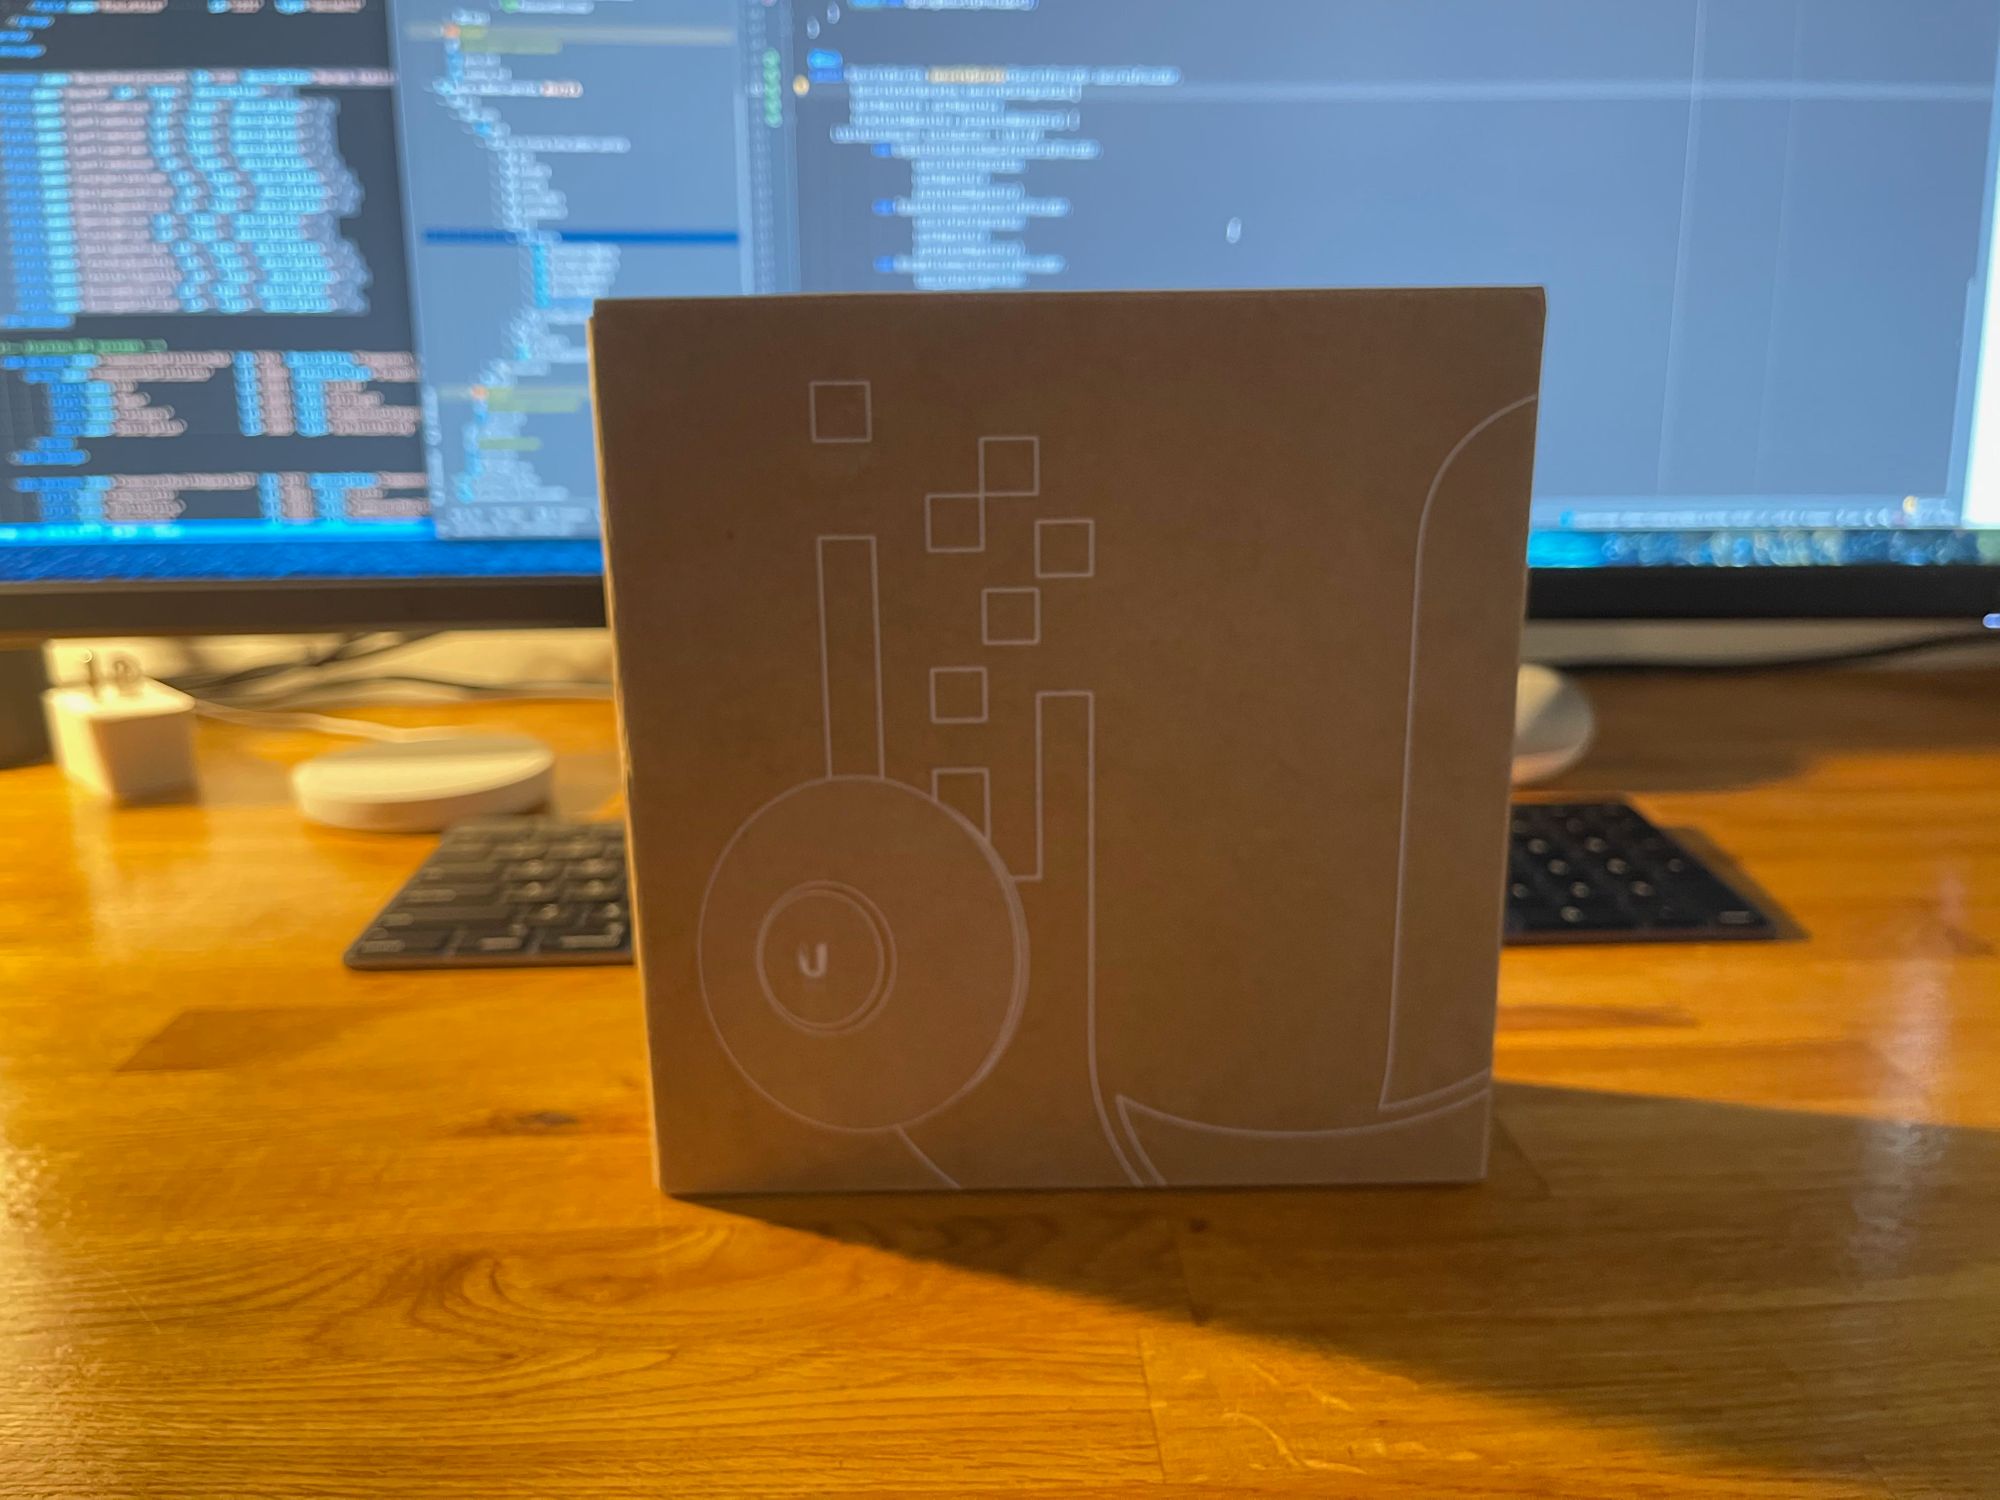
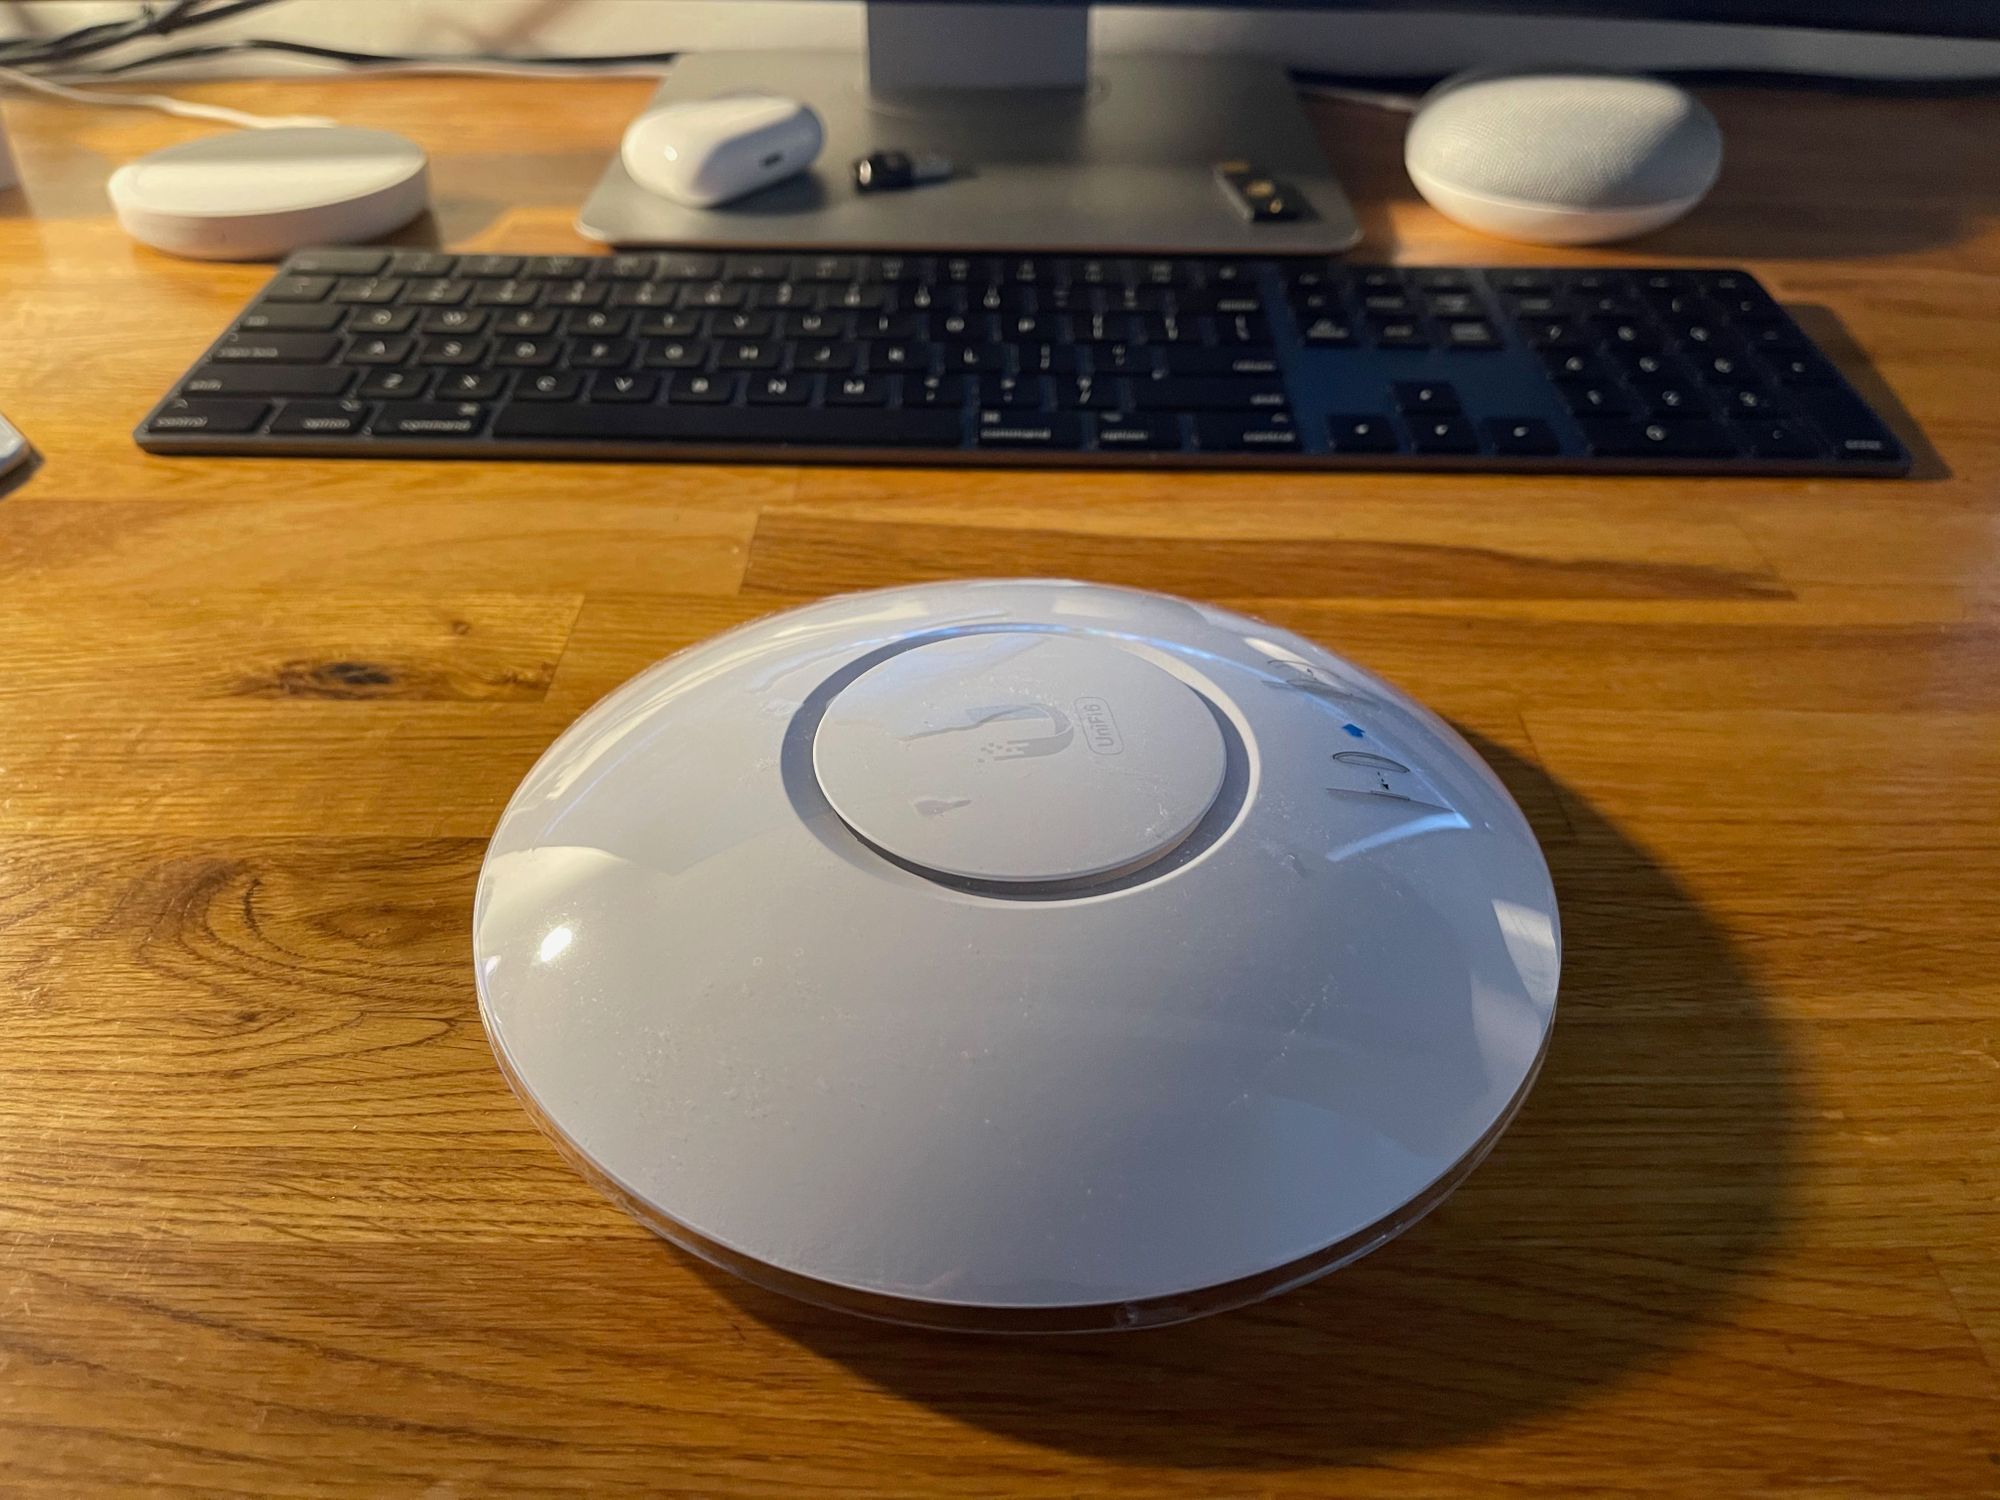
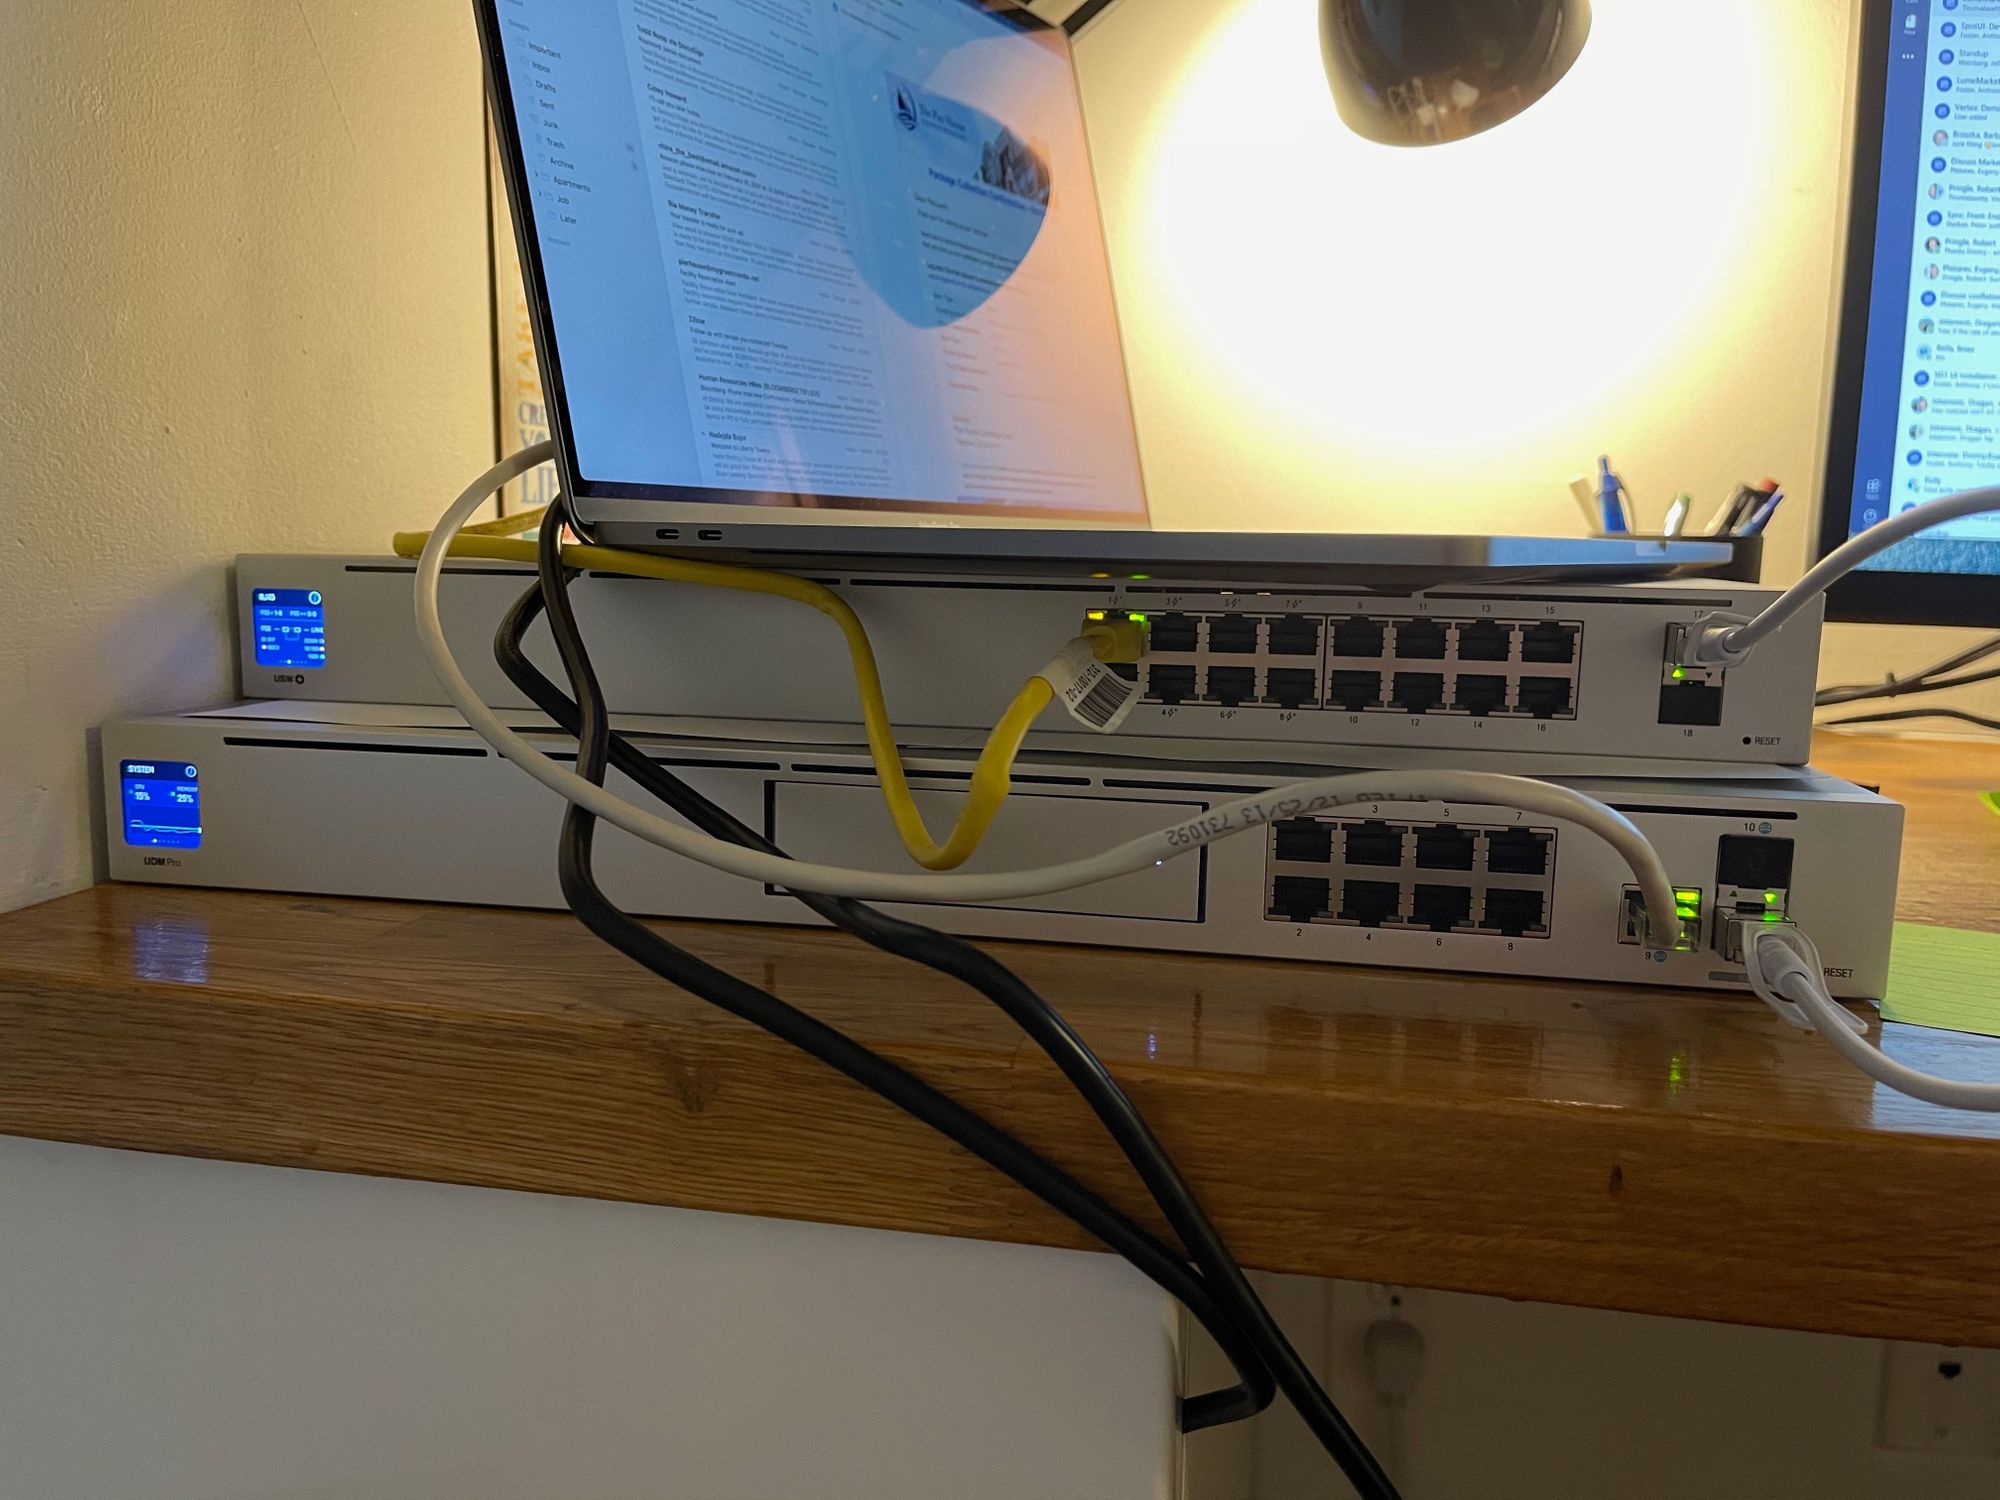
I made a decision to buy the initial set of Ubiquity devices but keeping in mind that I might need to extend that set, also I wanted to place all my stuff in a small rack, to keep them secure and well organized, that’s why my choice fell on the unit models. Below is my Ubiquity devices:
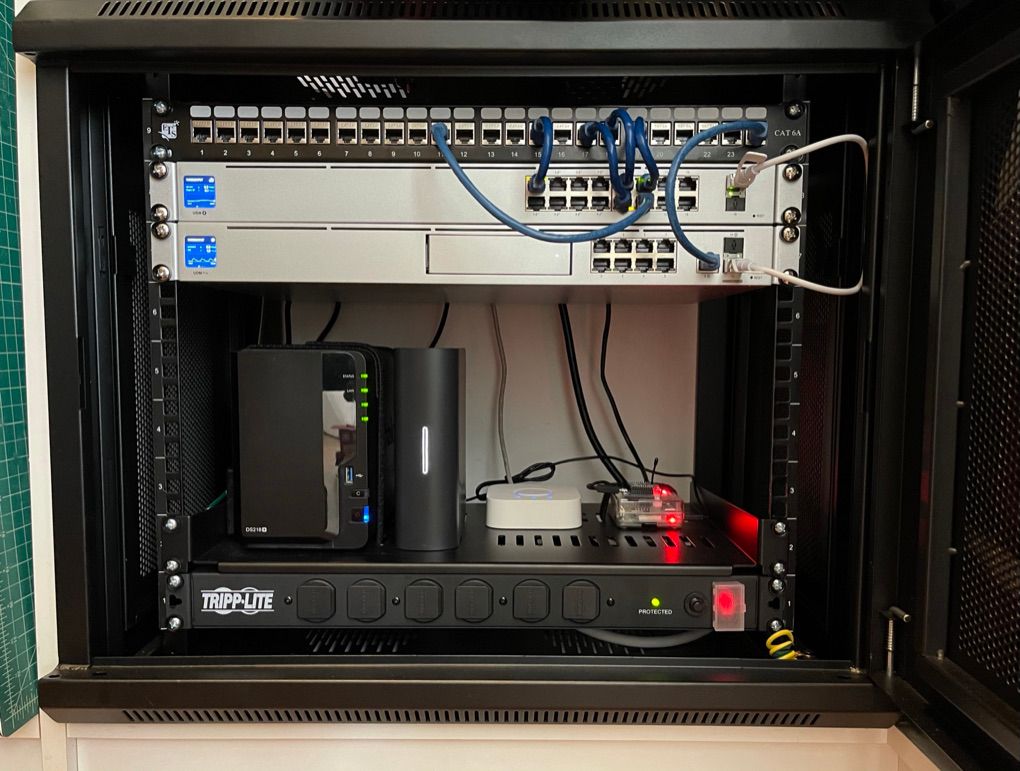
To place Ubiquity devices, NAS, Philips Hue Bridge, Raspberry Pi I decided to use 9 unit rack, dedicated rack mounted power strip, patch panel. Here is the list:
- StarTech.com 2 Post 9U 19” Wall Mount Network Cabinet
- Tripp Lite 14 Outlet Network-Grade Rackmount PDU
- StarTech.com 2U Server Rack Shelf
- ETS 24-Port CAT6A FTP Shielded 1U Patch Panel
- Ethernet cables
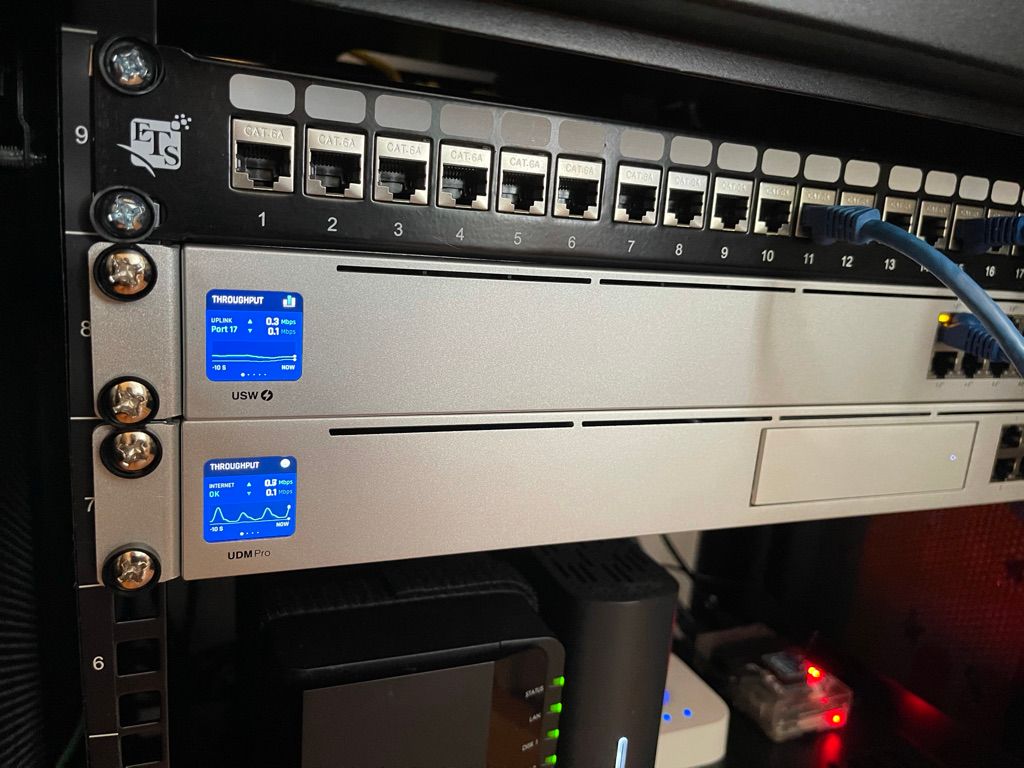
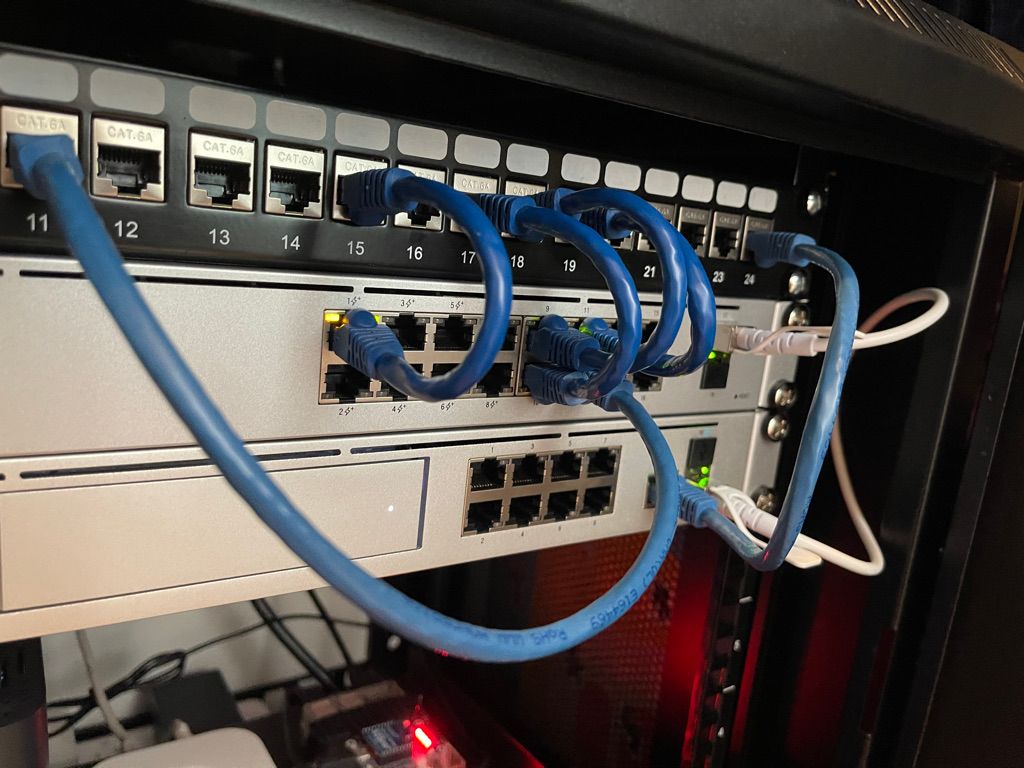
Below are images of what I got after assembling.
after almost one month of using the new system, I can say with confidence that it worth it, because I have more control over the system, I can better manage devices I have, I noticed bigger throughput during the day and of course, it is always fun to build something new with ability to extend in the future. So far I see the only cons is the size, definitely, it is bigger than my old ASUS RT-AC3200 😂.
